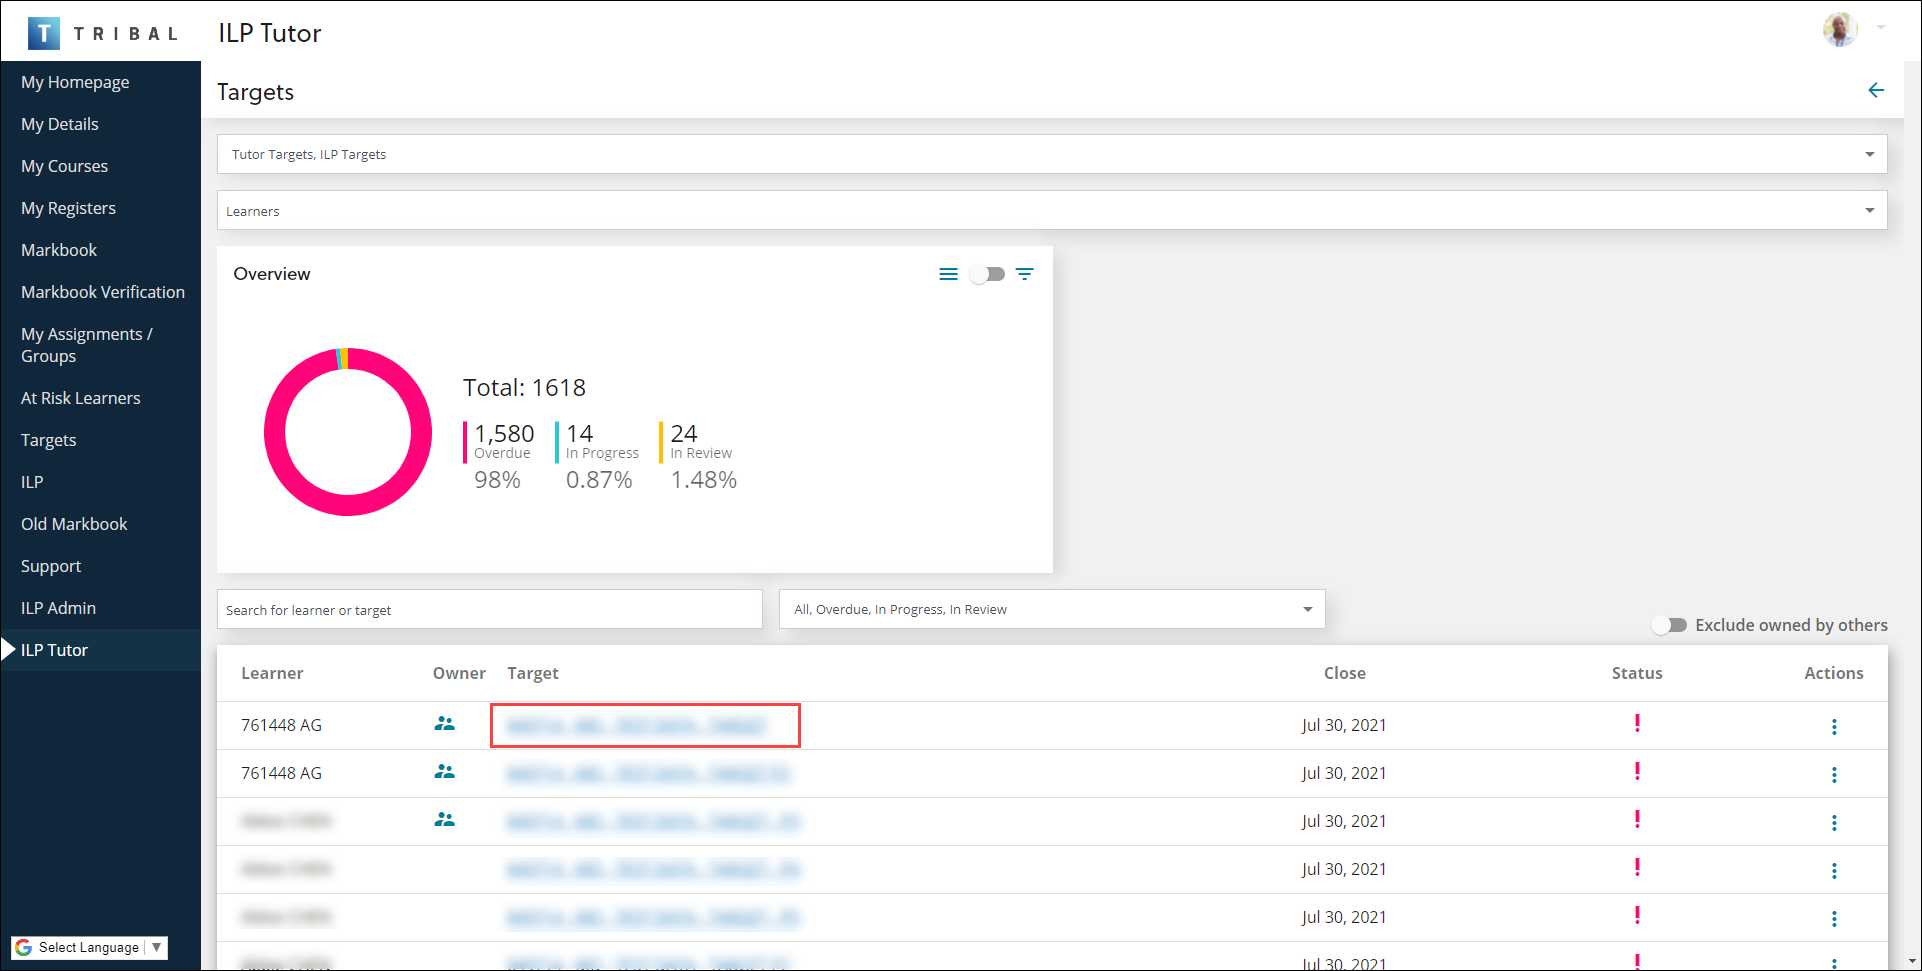
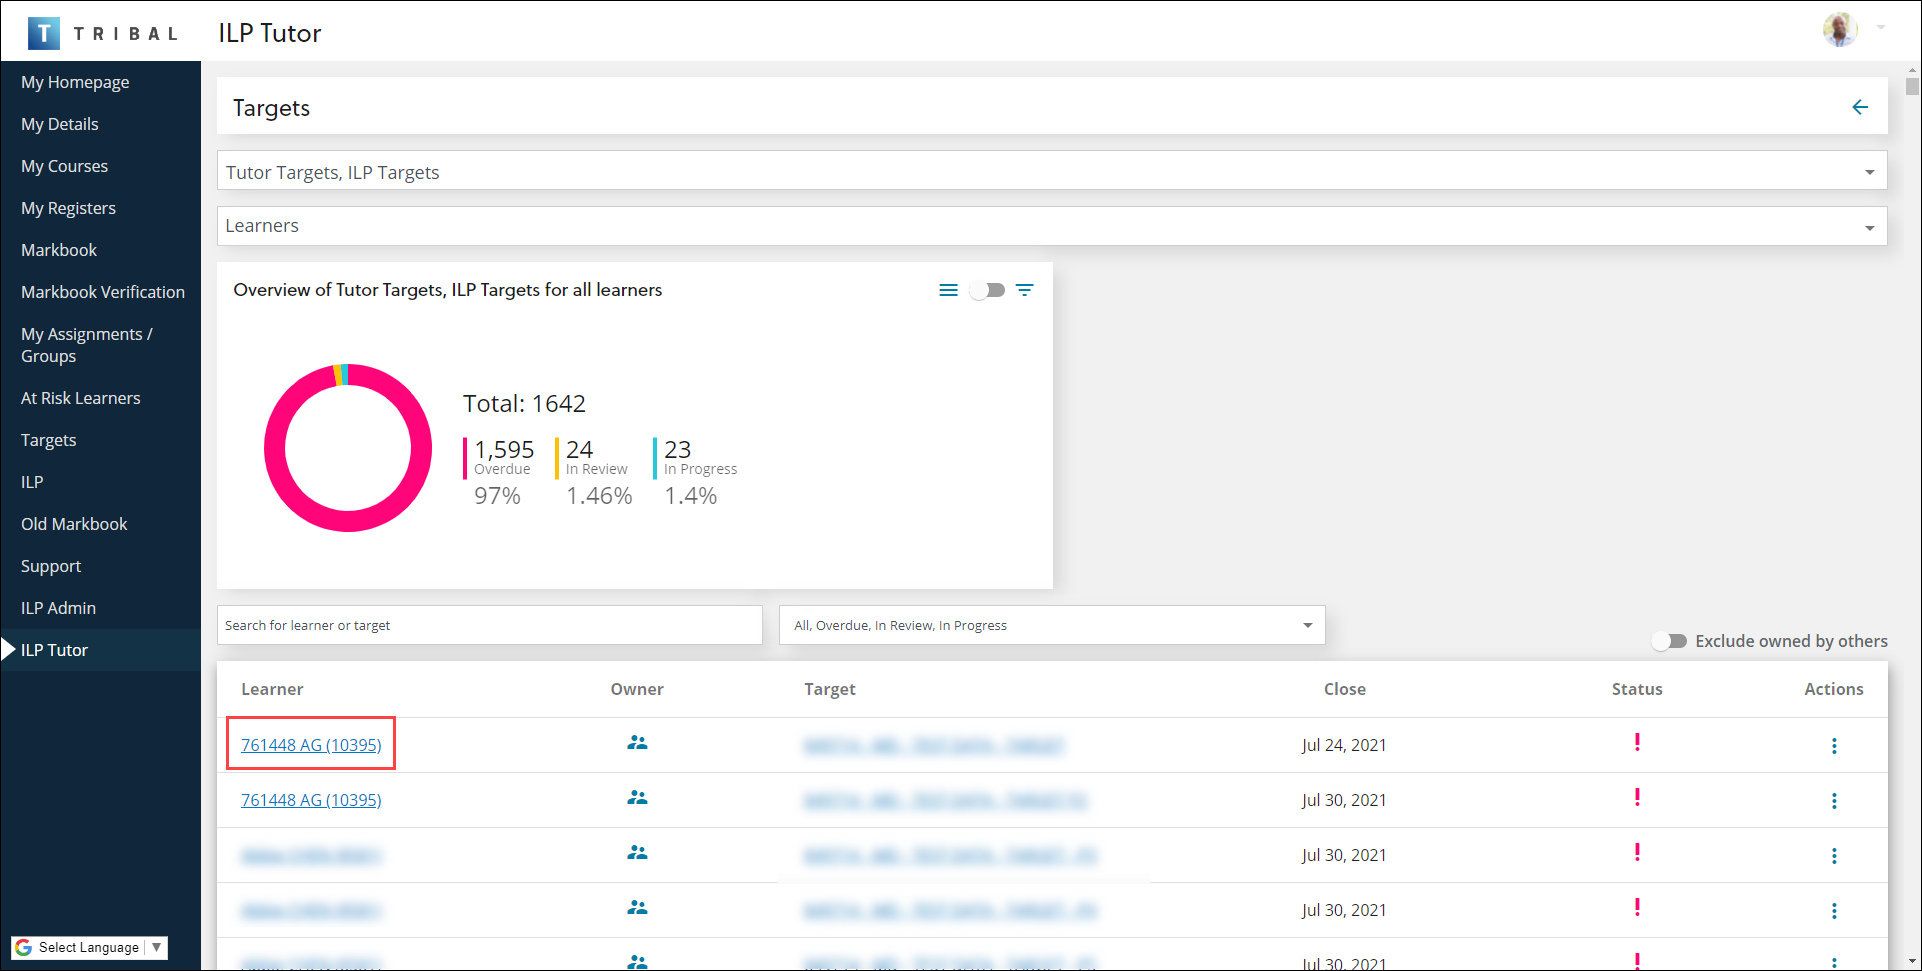
Use the Targets screen to manage targets.
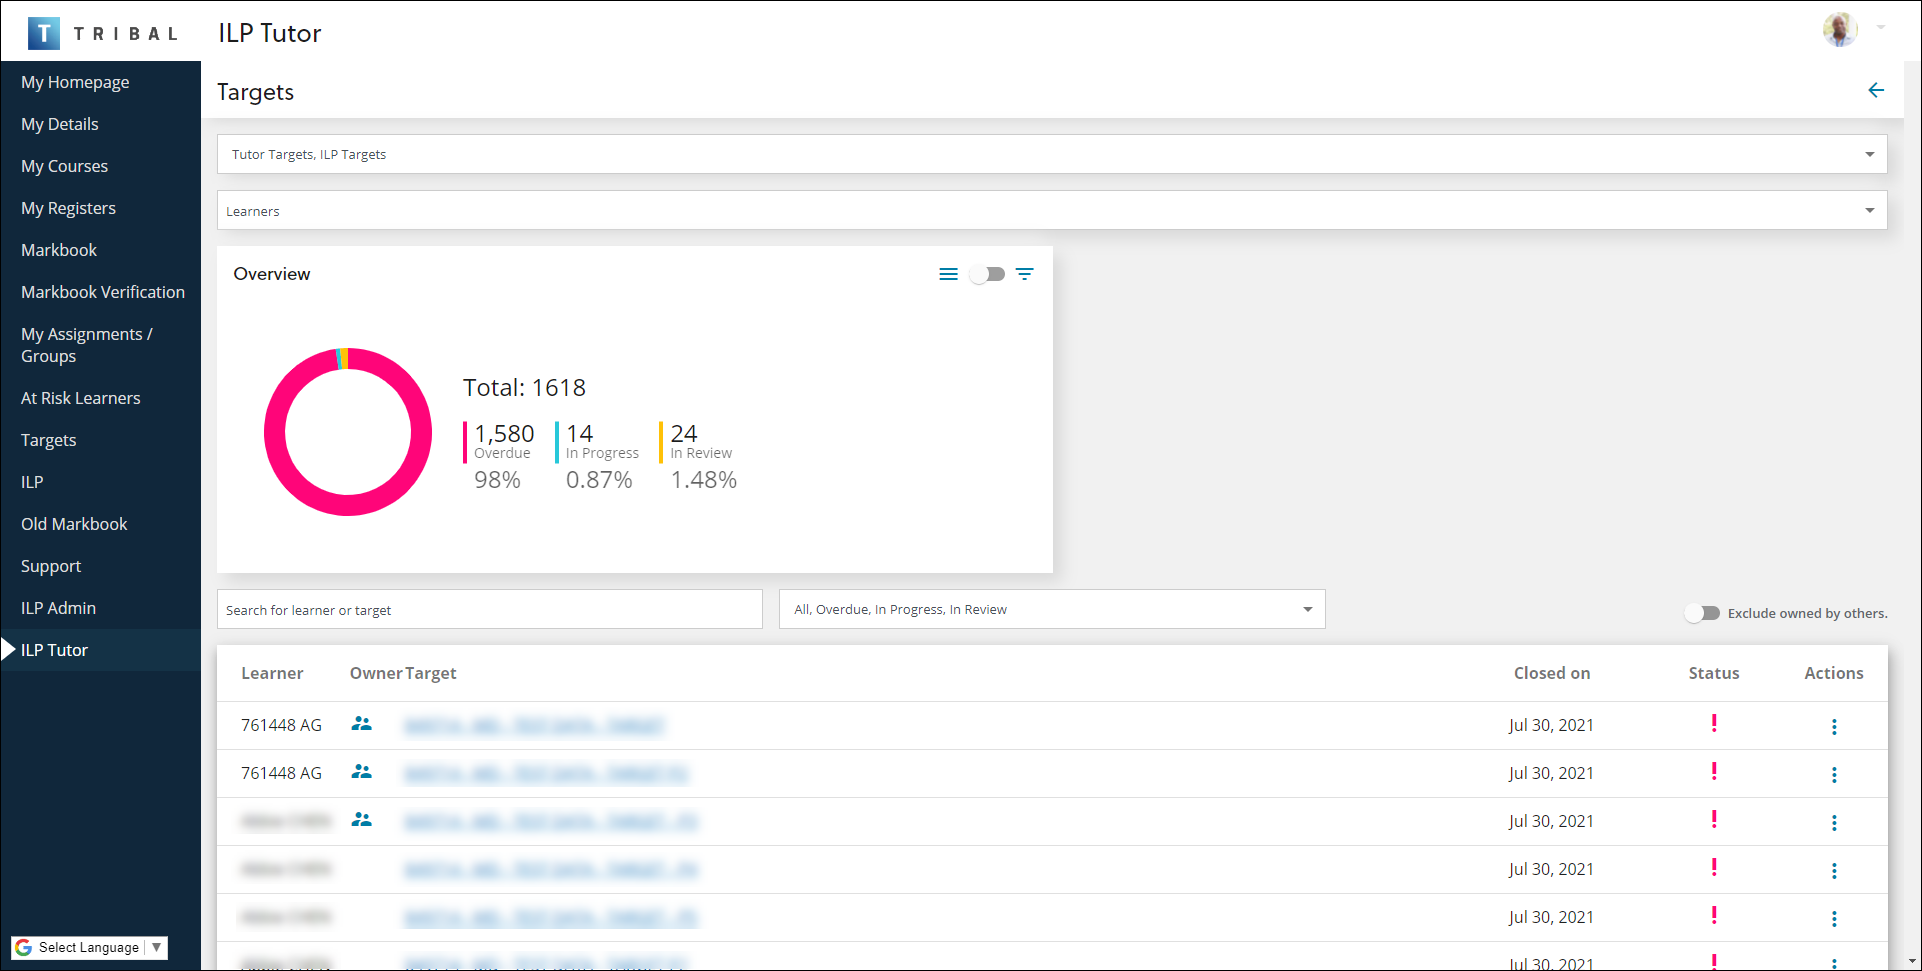
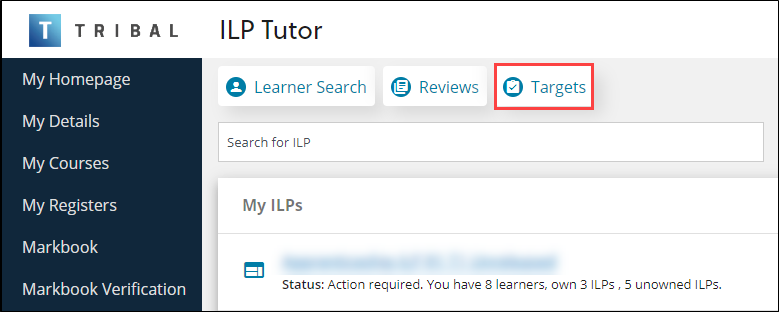
It can be accessed by selecting the Targets button on the ILP Tutors screen.
You can use the Targets screen to:
You can search and filter targets in the following ways:
-
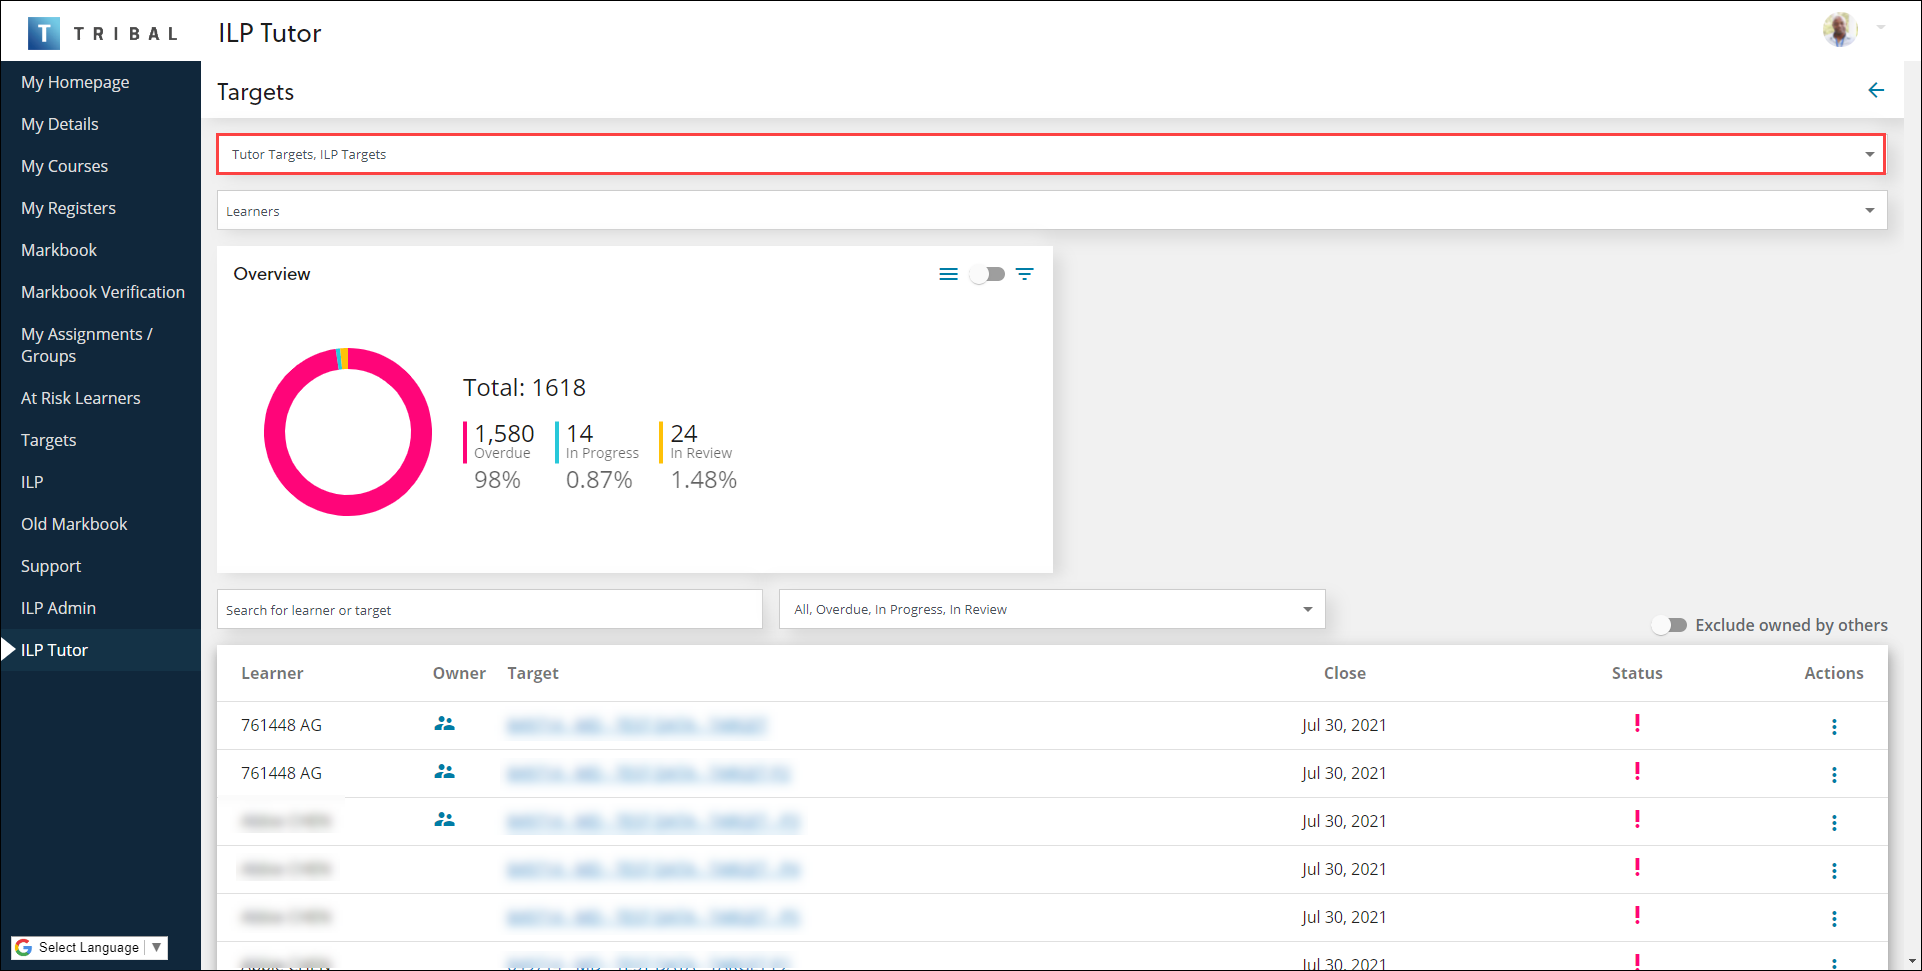
Target type - use this field to filter by tutor targets or ILP targets, or both. The targets list is updated immediately
-
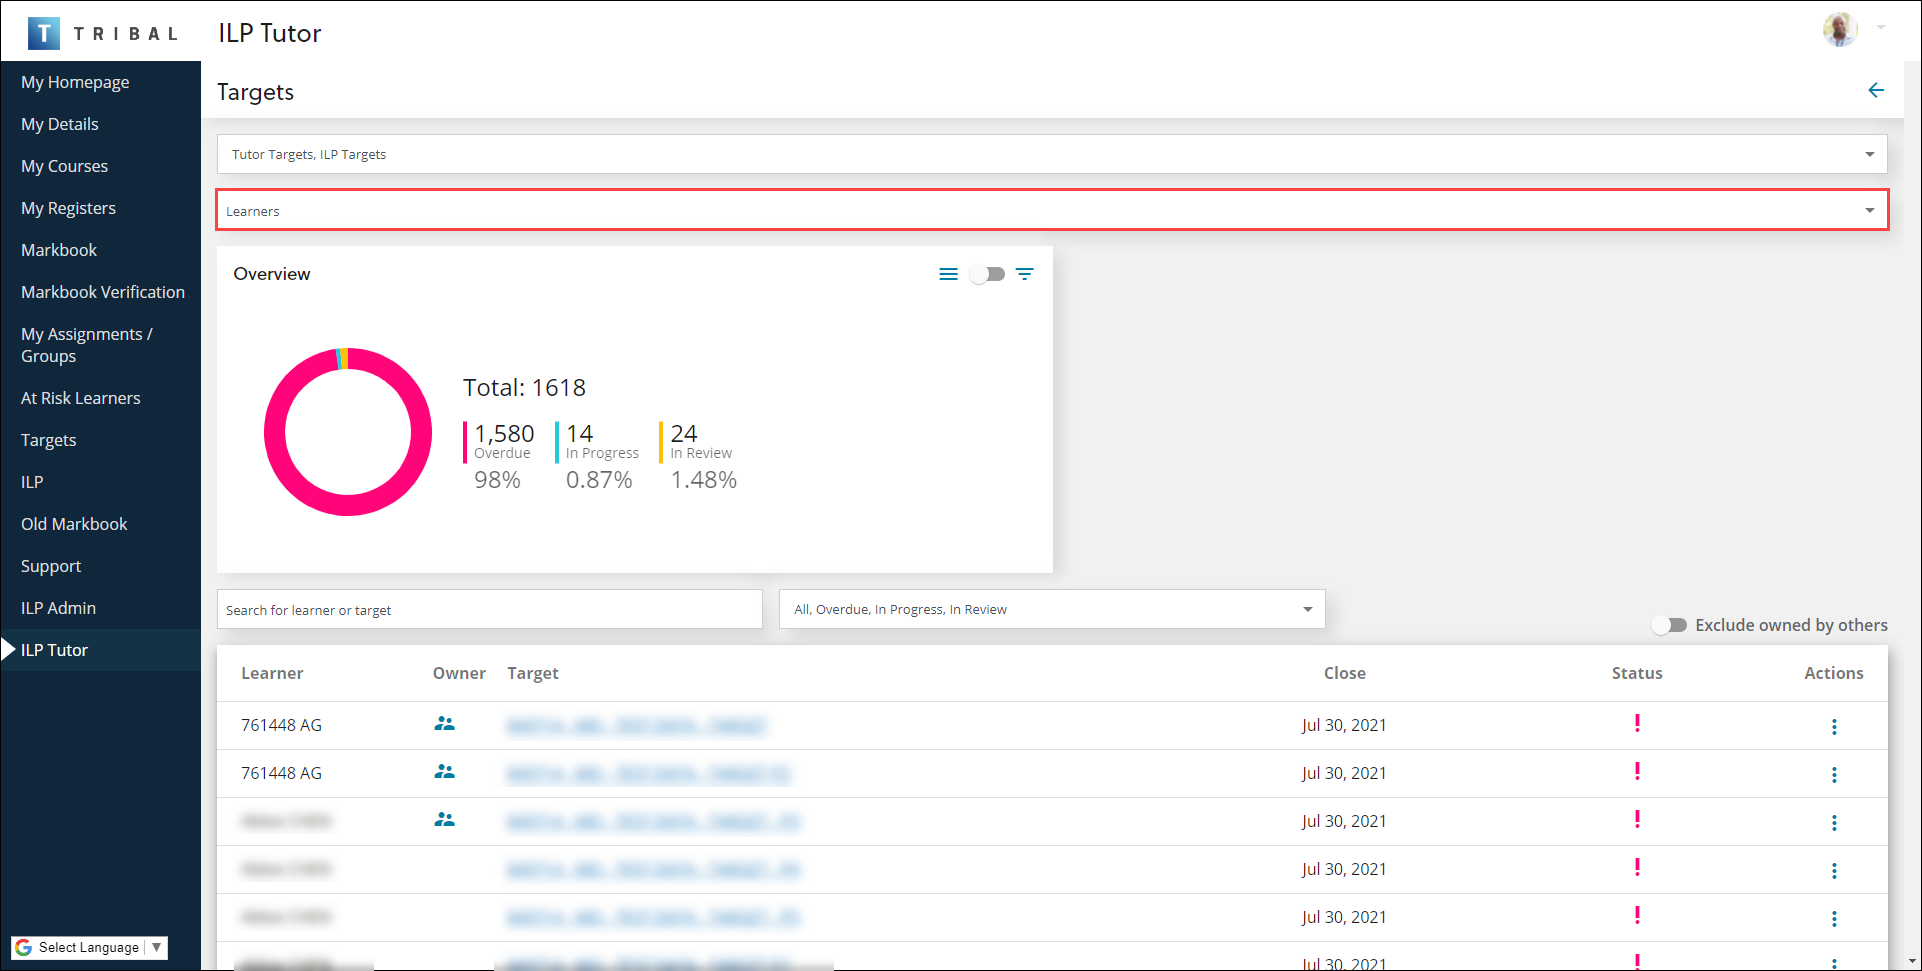
Learners - use this field to filter by learner. Use the drop-down list to choose the relevant learners or choose all
-
View an overview of tutor and ILP targets for all learners in the Overview panel. Targets are sorted by status (for example: Overdue, In Progress and In Review). You can use the toggle switch to filter and adjust the display
Important.You can filter the graph by selecting the relevant status section.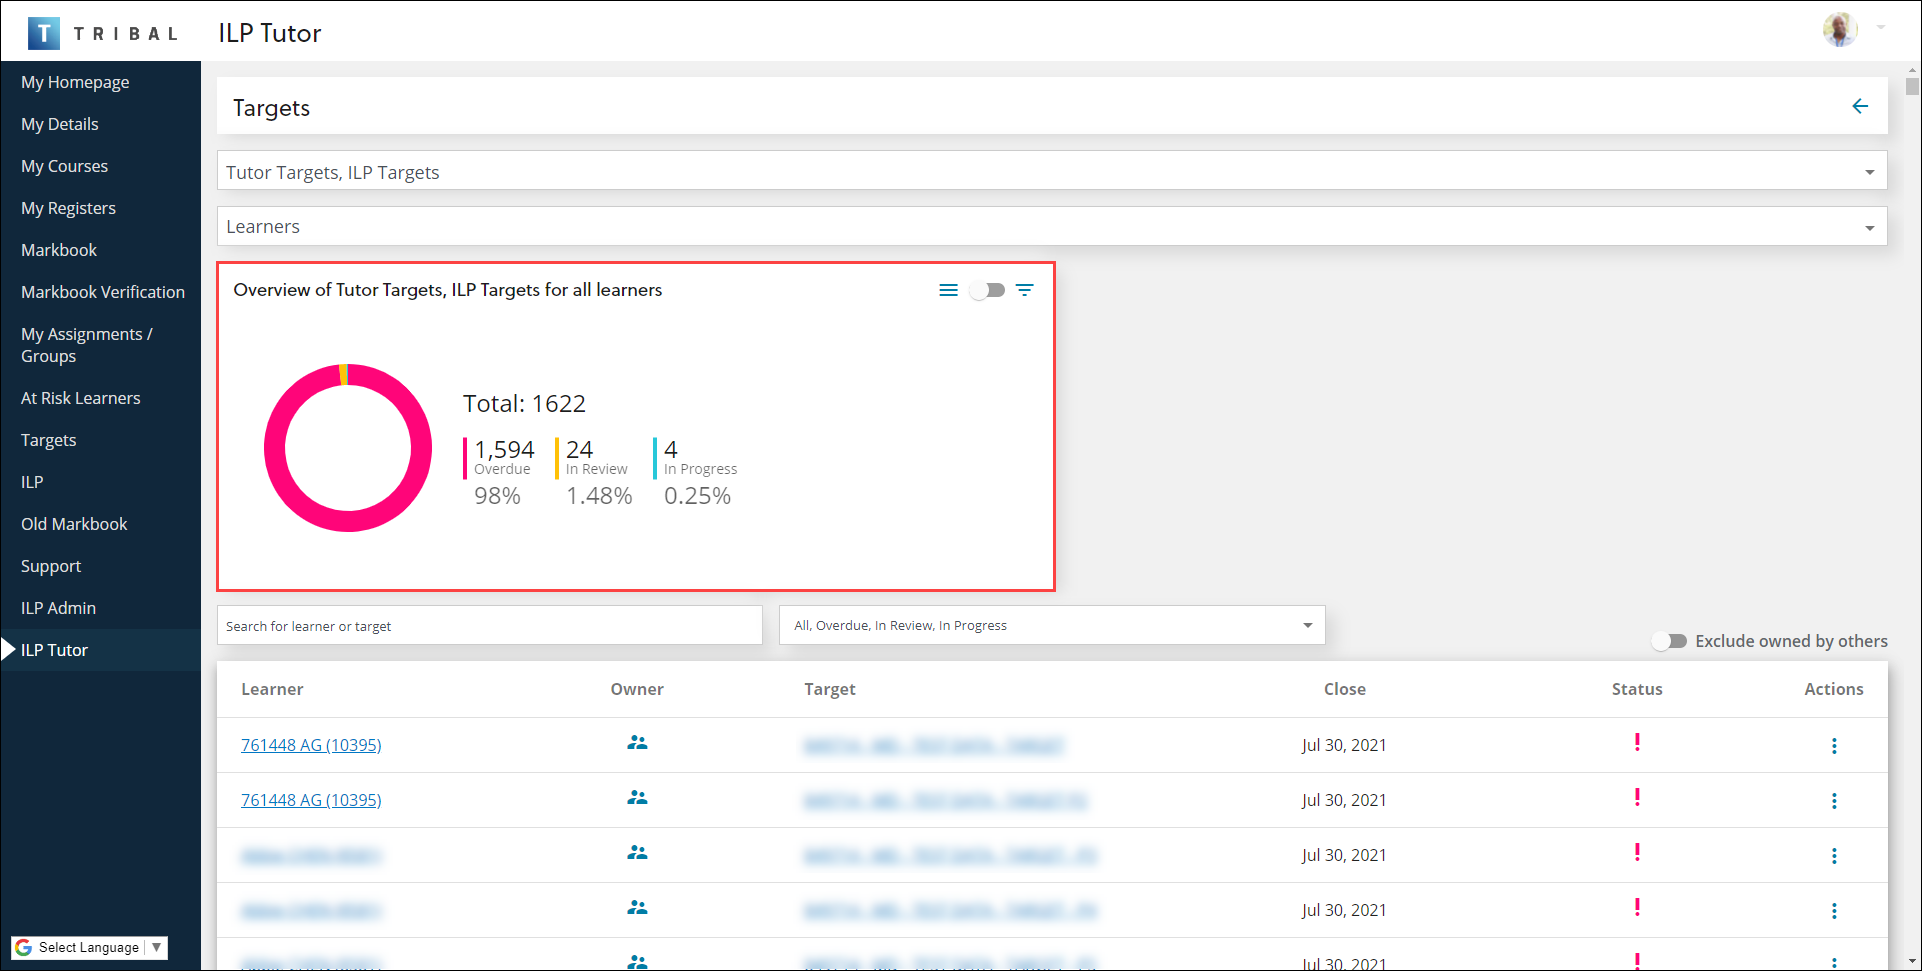
-
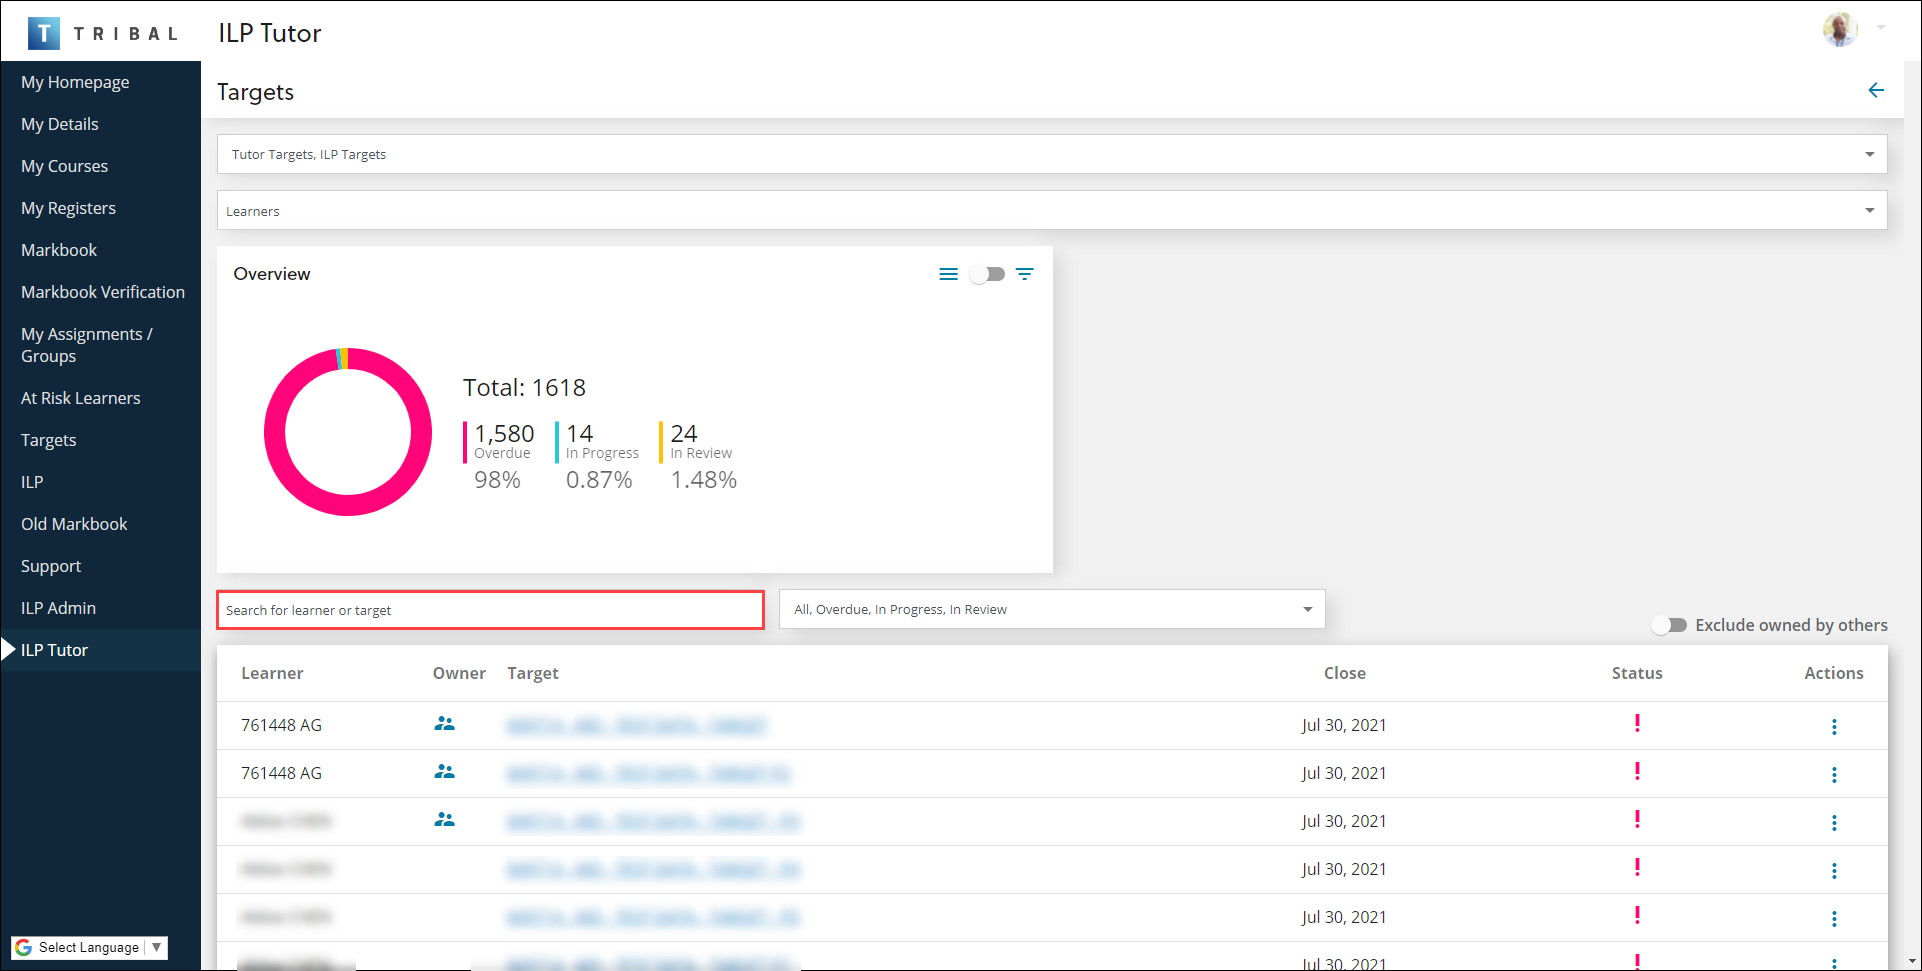
Search for learner or target - use this field to search learners by first name, surname or person code. The targets list is updated immediately
-
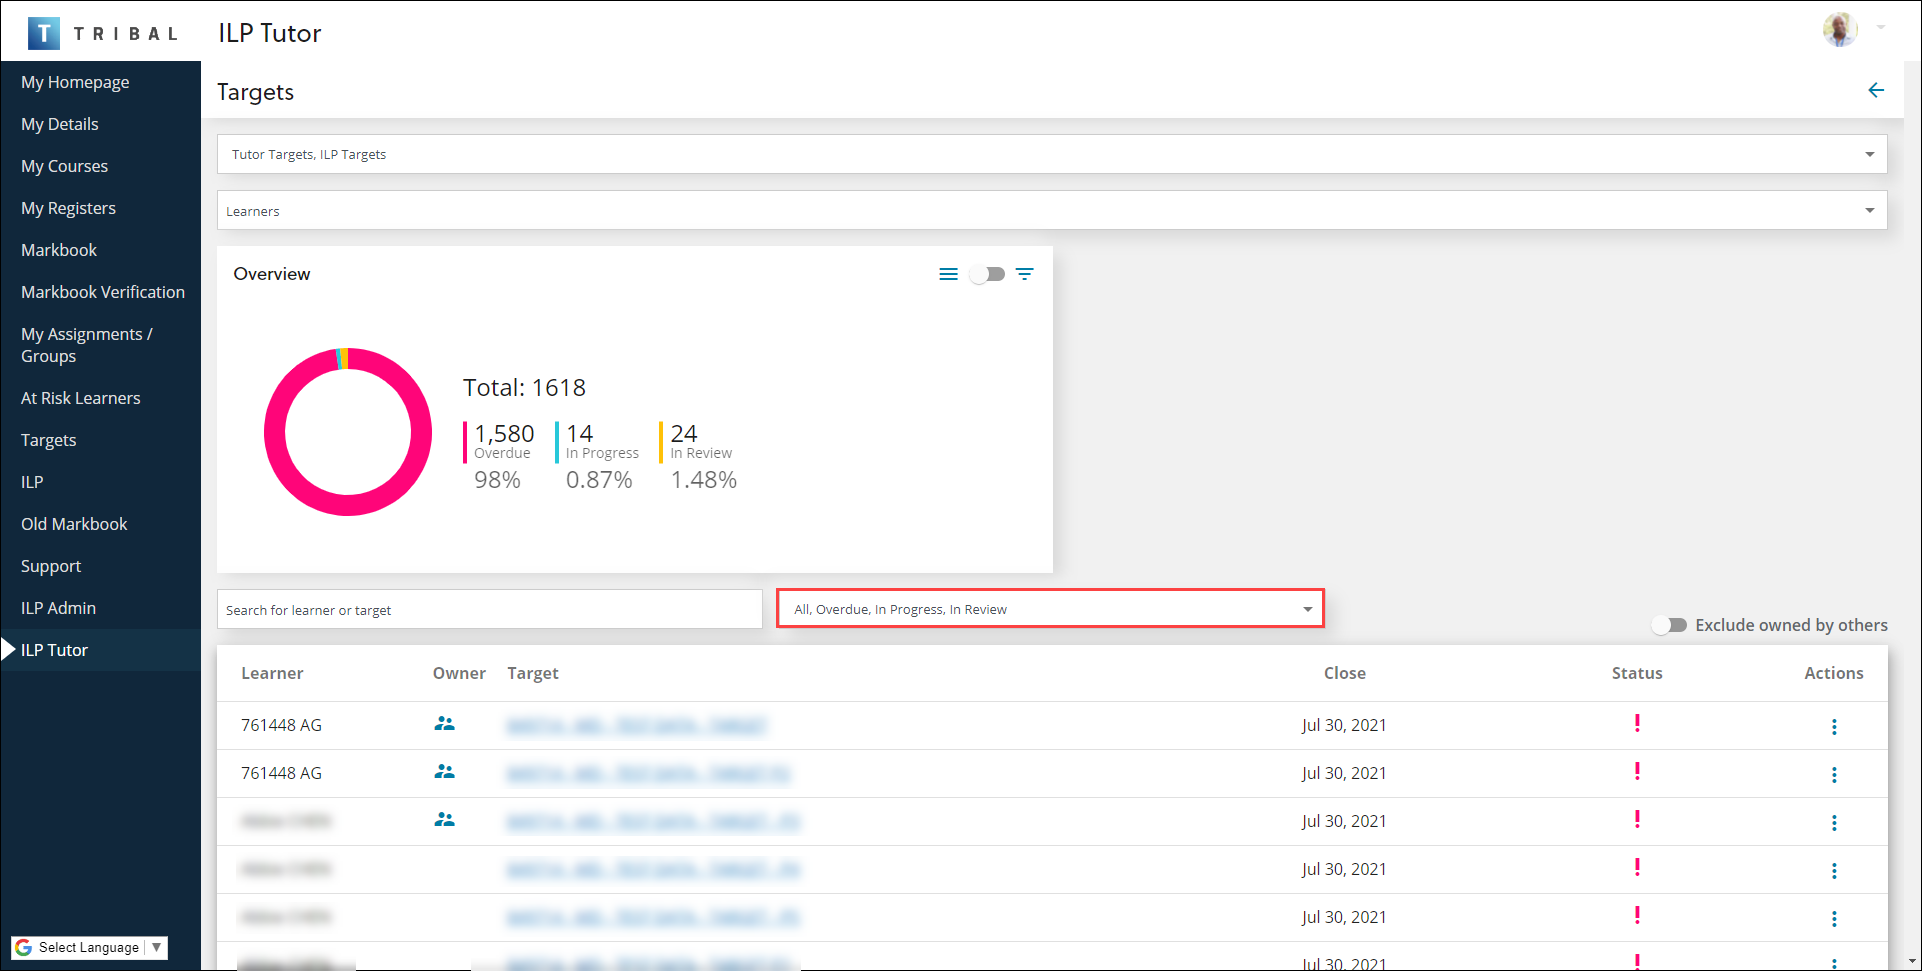
Search by status - use the drop-down list to choose the relevant status (for example: All, Overdue, In Progress, In Review)
-
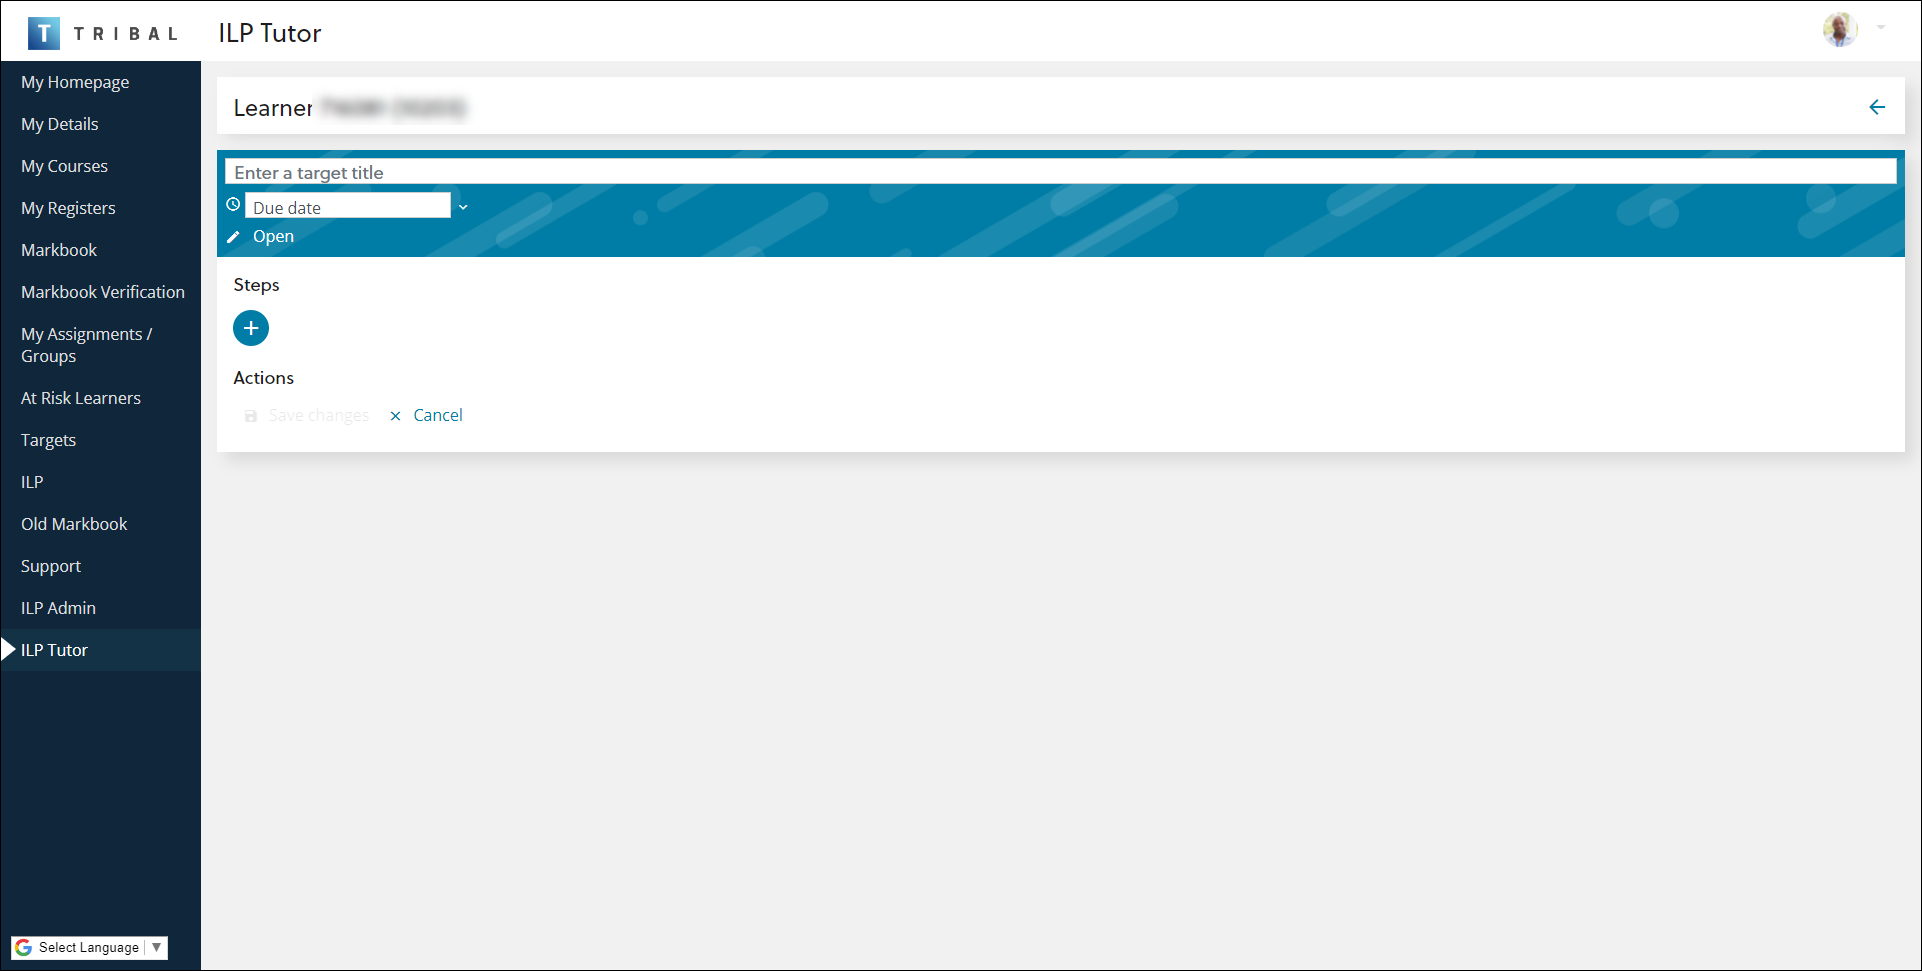
Navigate to the target dashboard and select the Add button.
Alternatively, select the relevant target name on the learner's target screen.
The Target screen is displayed.
-
If you are editing an existing target, select the Edit button in the Actions section.

-
Enter the relevant target information.
The fields on the target screen are described in the following table.
| Field | Does this... |
|---|---|
| Target title | The title of the target. This field is mandatory. |
| Due date | The date the target is due. Select the relevant date from the calendar. This field is mandatory. |
| Status |
The status of the target (for example: Open, In Review, Overdue and so on). New personal targets default to Open. |
| Type | The type of target (for example: ILP and so on). |
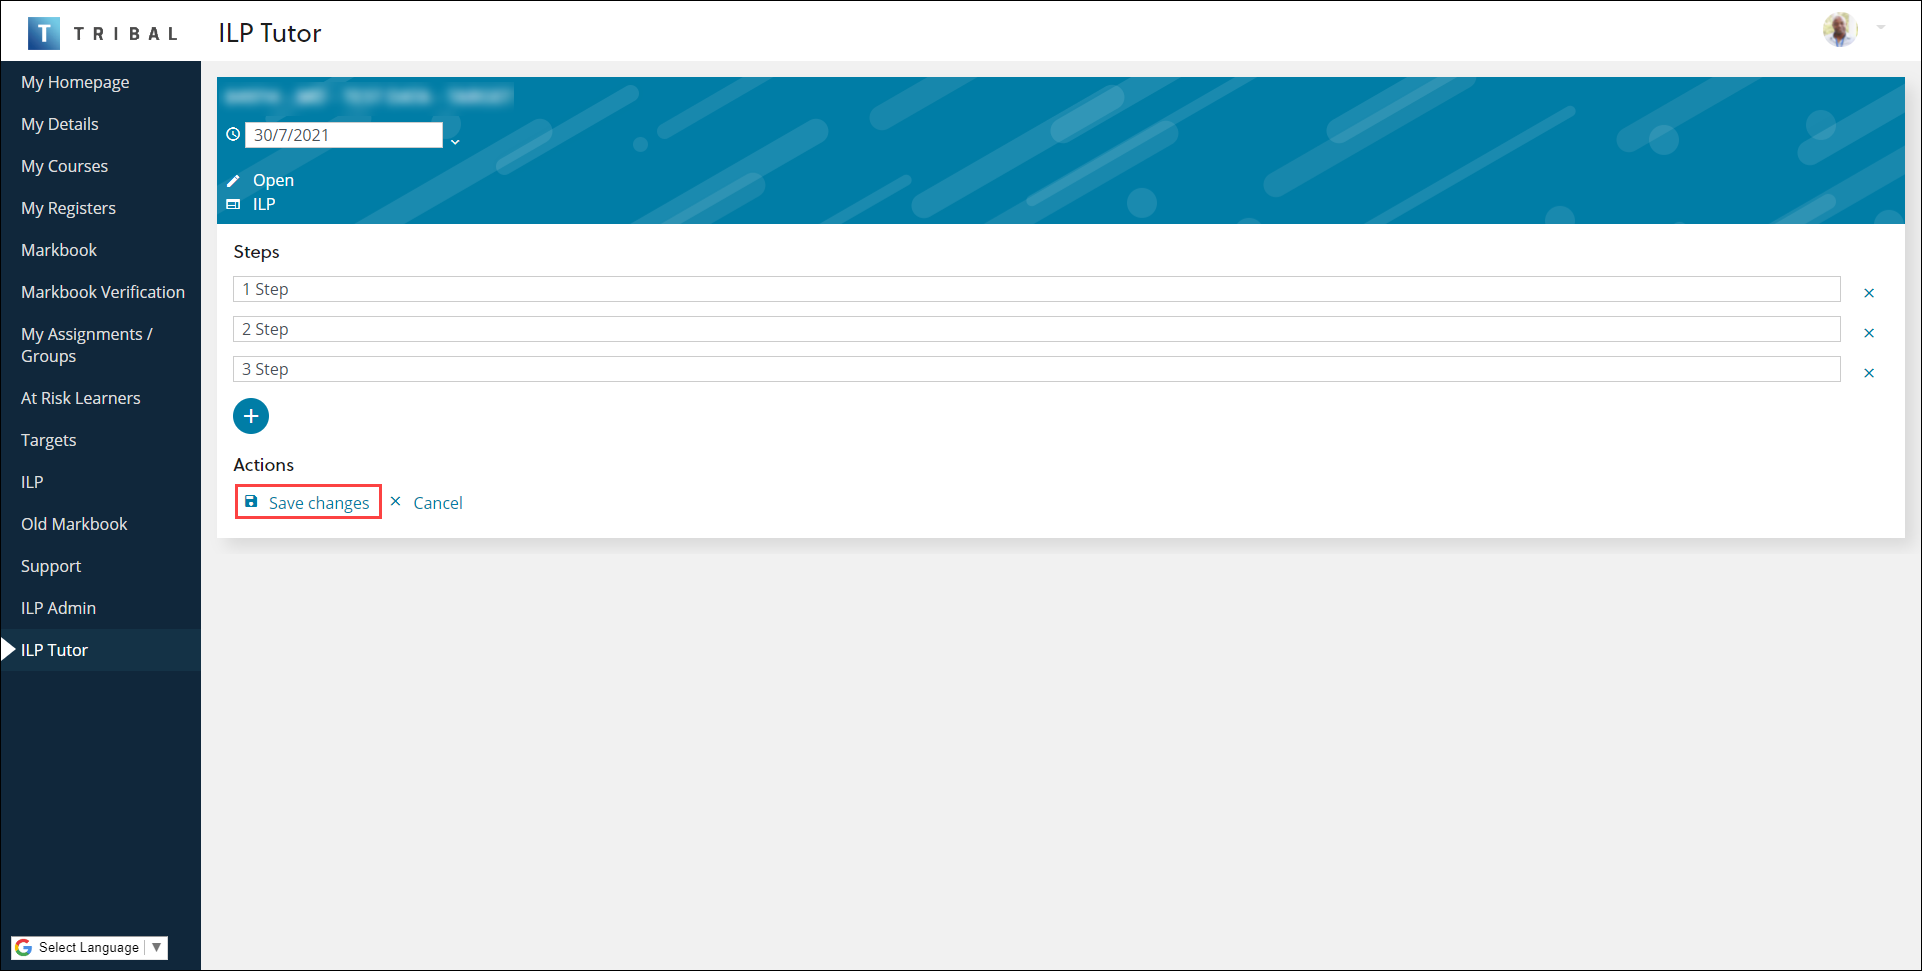
| Steps |
The target steps. Select the + button to add a target step, up to a maximum of five. The target step field is mandatory once added. Important.You can re-order target steps when editing a target by dragging and dropping the relevant step to the appropriate position.
|
-
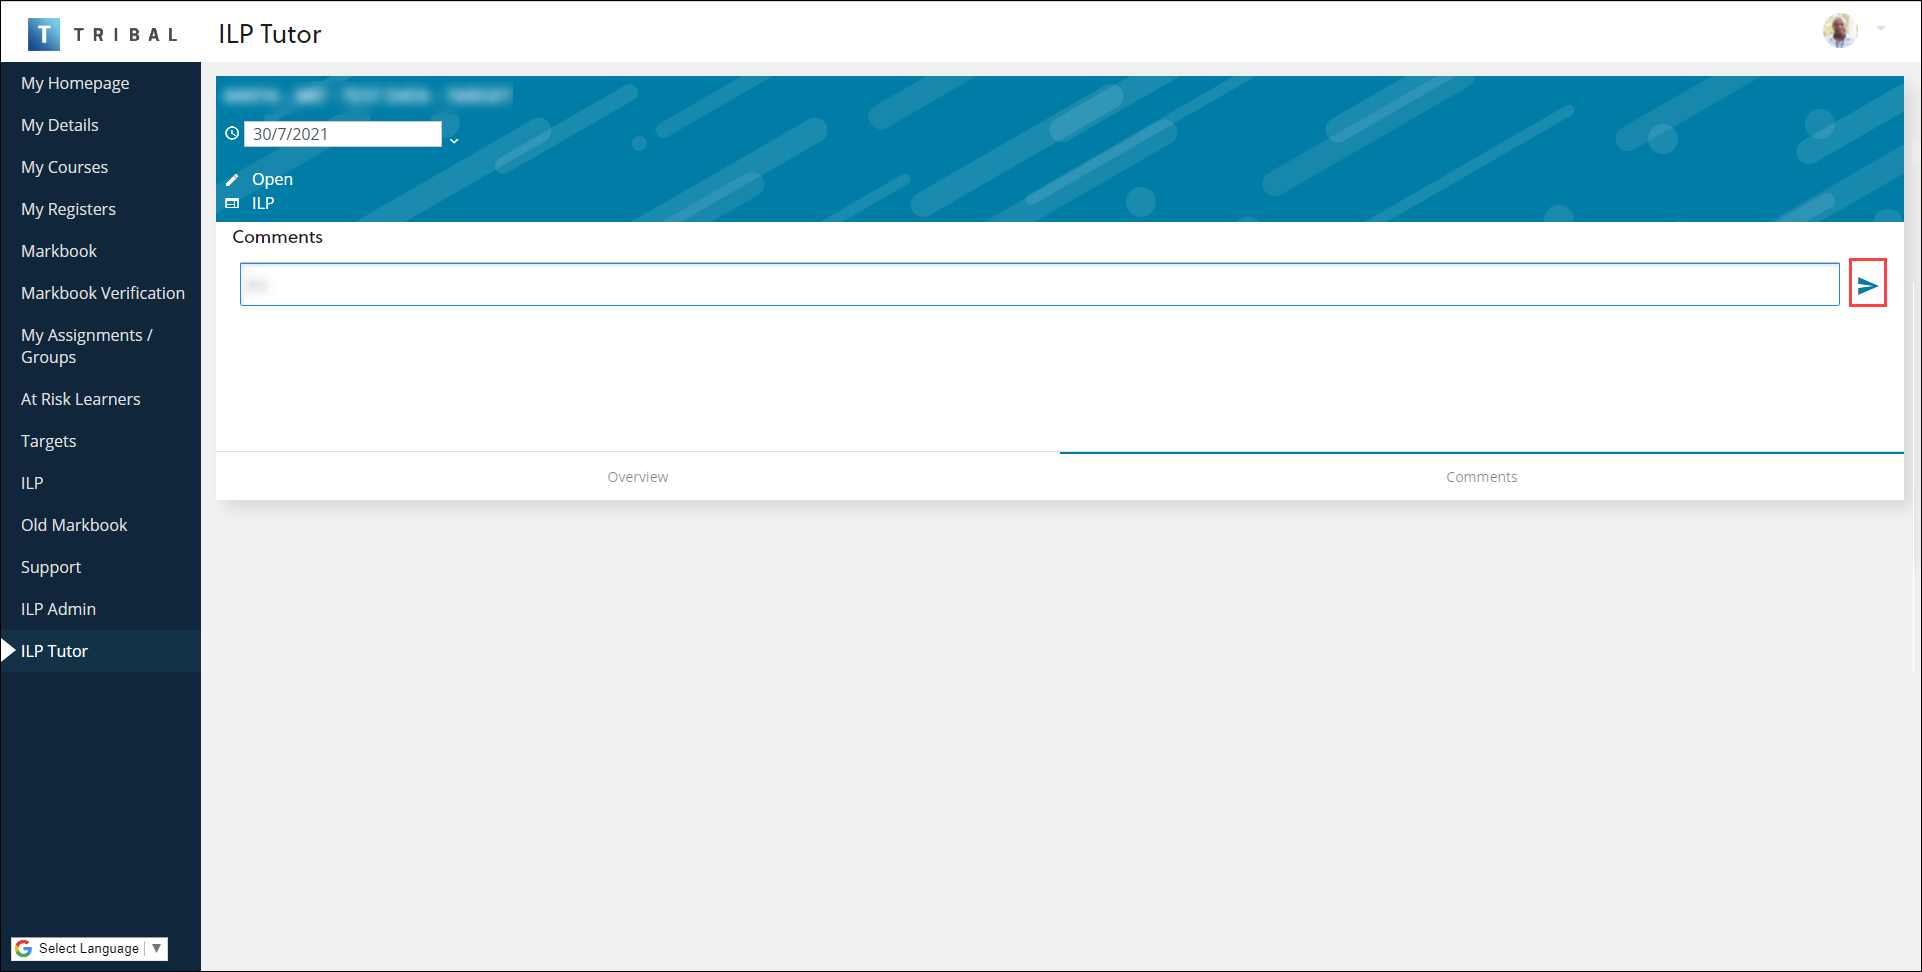
Select the Comments tab to add comments to an existing target.

-
Enter any comments and select the Send button, if required.
-
Select Save changes .
To mark a target as complete:
-
Select the relevant target name.
Alternatively, select the ⋮ drop-down menu of the relevant record and then select the Edit option.
The target screen is displayed.

-
Select the Mark as complete target action from the Actions section.
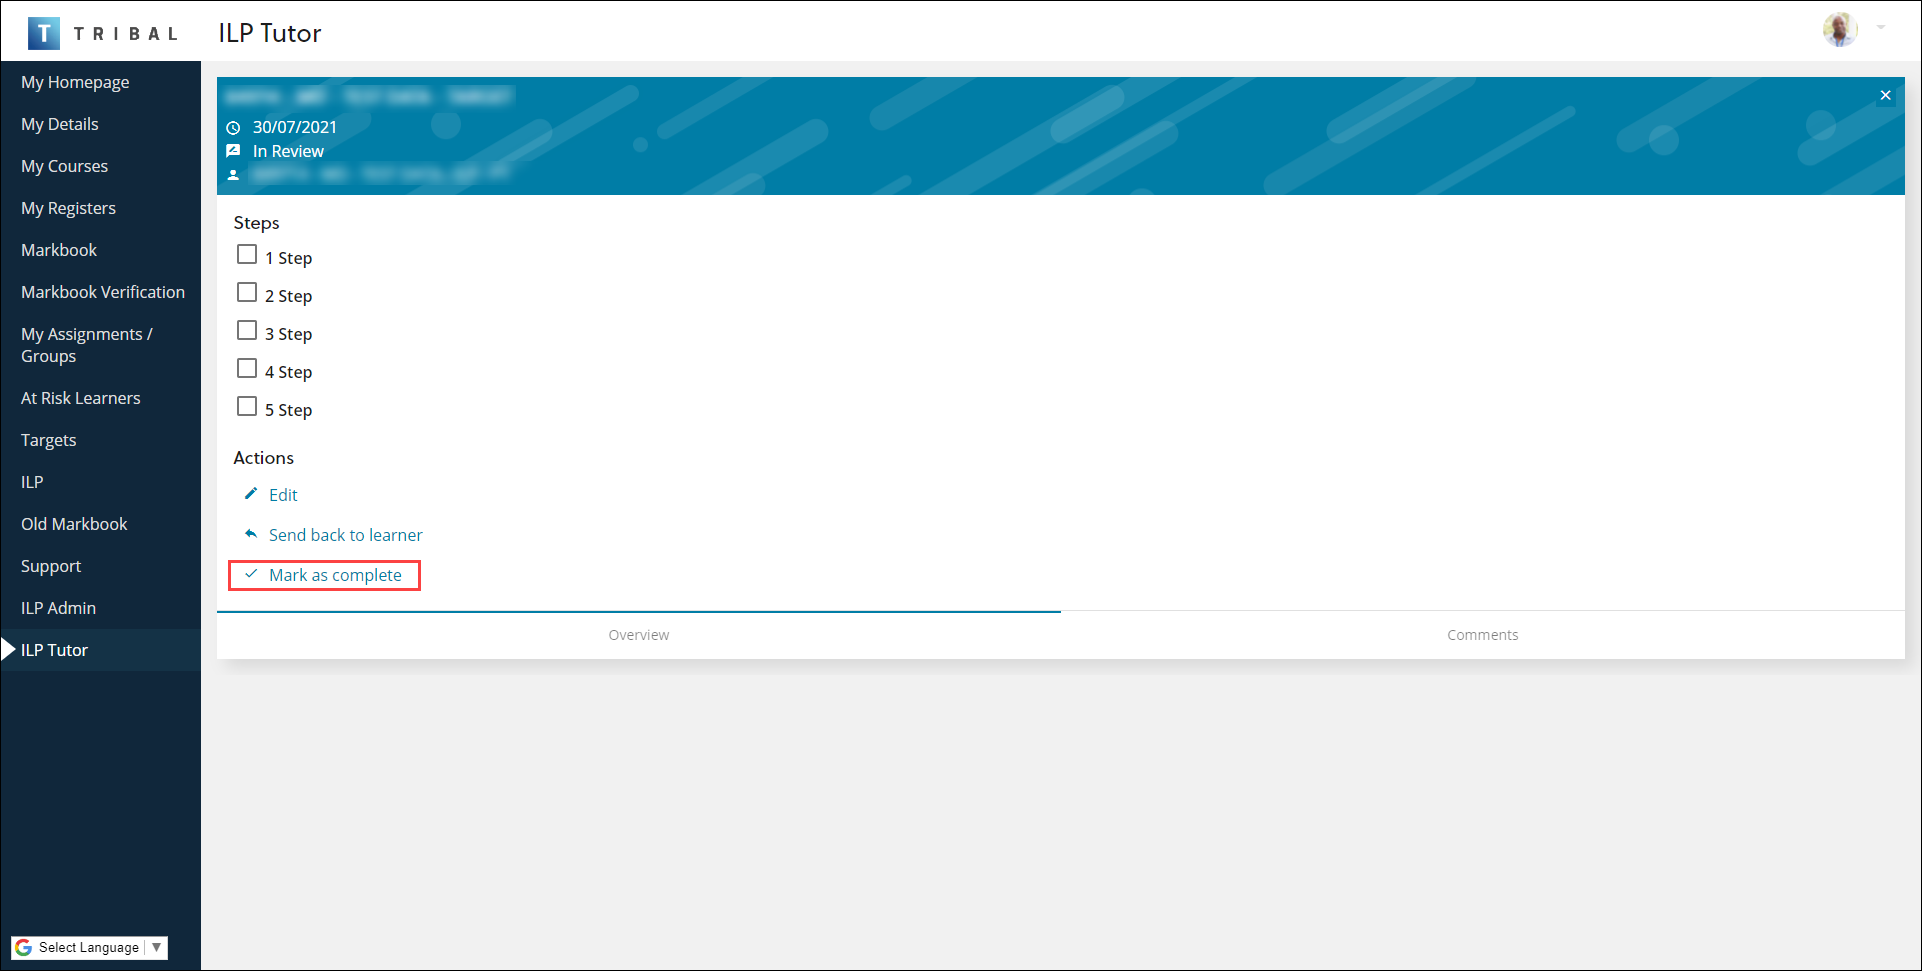
The Mark as complete window is displayed.
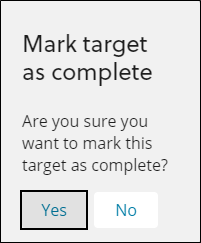
-
Select Yes .
The target is marked as complete.
To send a target that has been submitted for review back to the learner:
-
Select the relevant target name.
Alternatively, select the ⋮ drop-down menu of the relevant record and then select the Edit option.
The target screen is displayed.
-
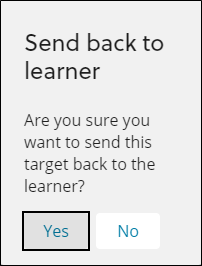
Select the Send back to learner target action from the Actions section.
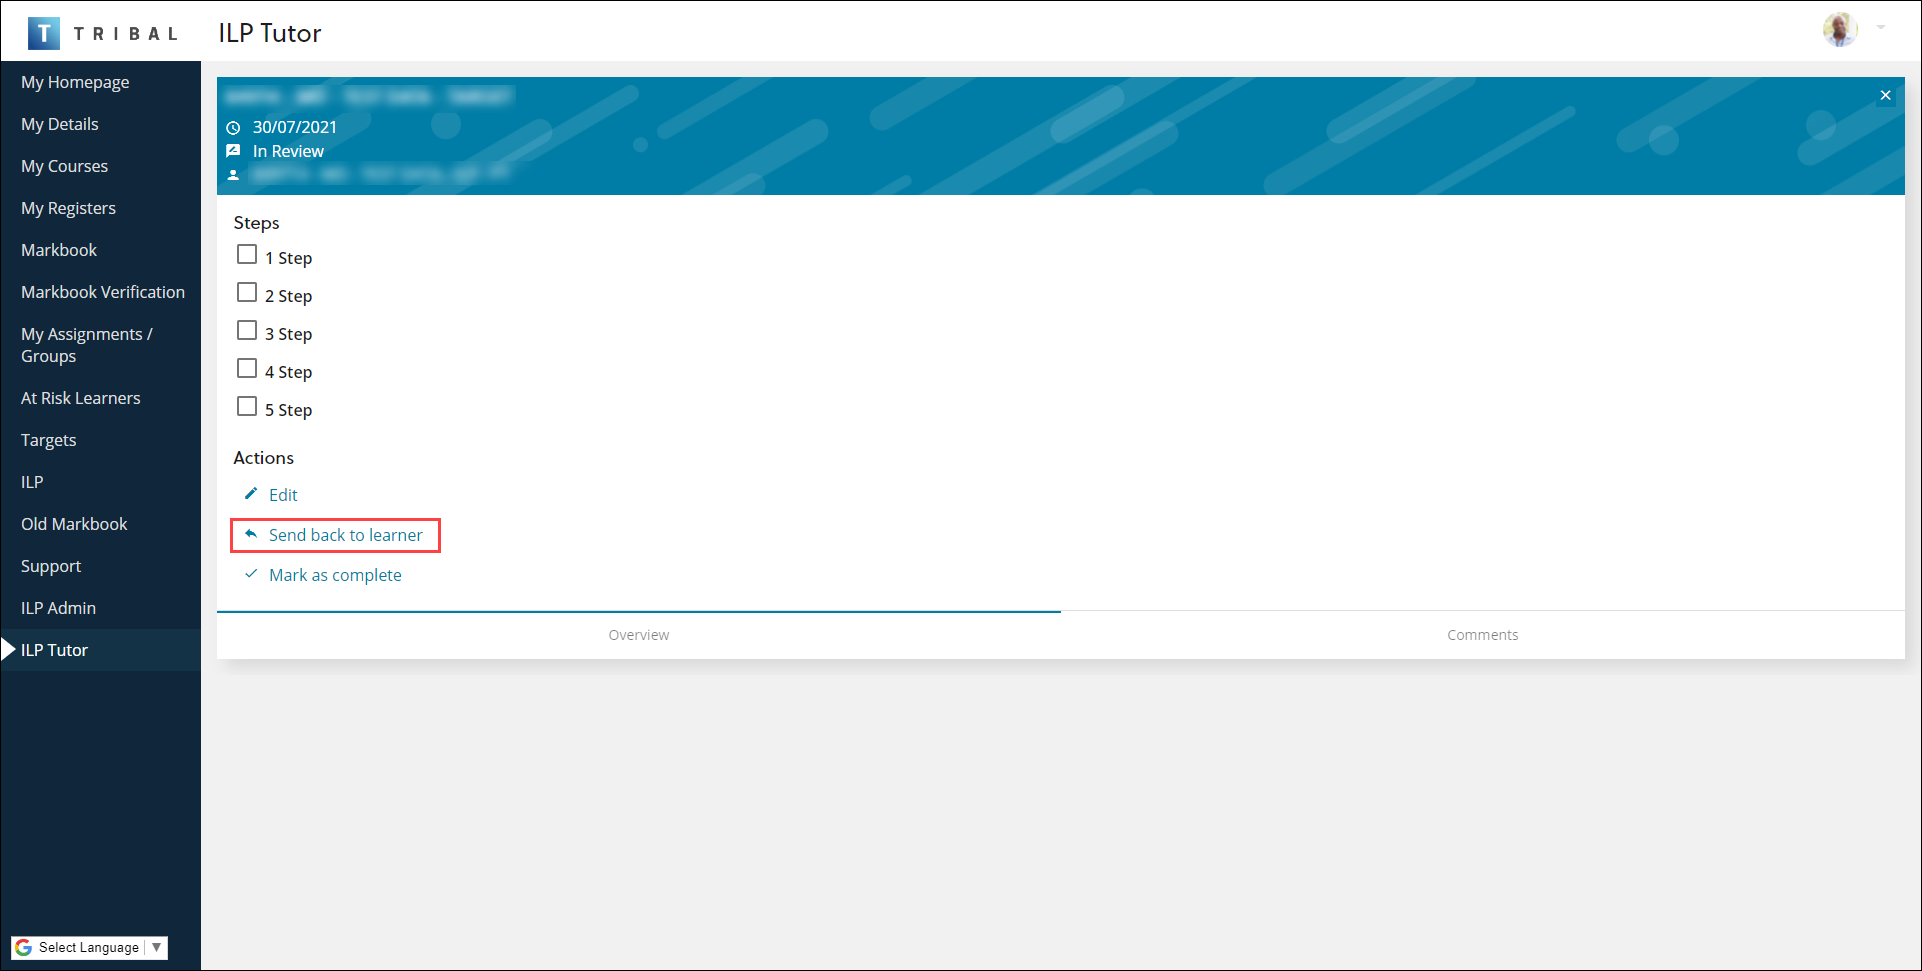
The Send back to learner window is displayed.
-
Select Yes .
The target is sent back to the learner to enter further information
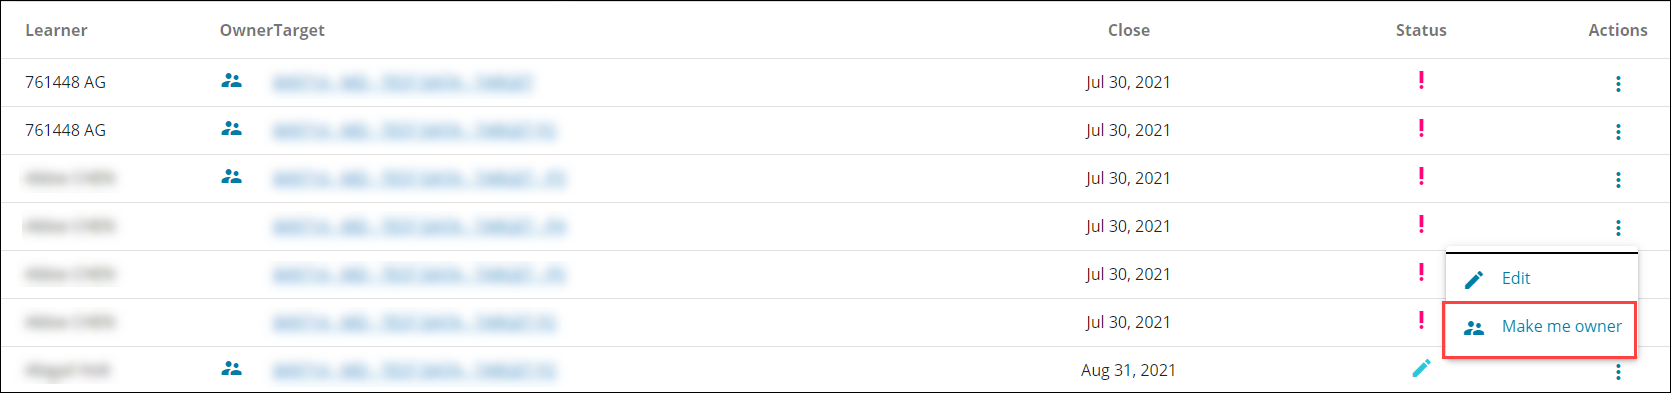
To take ownership of a target that is assigned to another tutor:
-
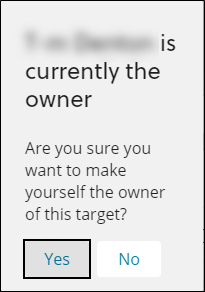
Select the ⋮ drop-down menu of the relevant record and then select the Make me owner option.
The <TutorName> is currently the owner window is displayed.
-
Select Yes .
To take ownership of an unassigned ILP for a learner with at least one unowned review or target:
-
Select an unassigned learner on the Targets screen. Alternatively, select an unassigned learner on the Reviews screen.
The ILPs for <LearnerName> screen is displayed.
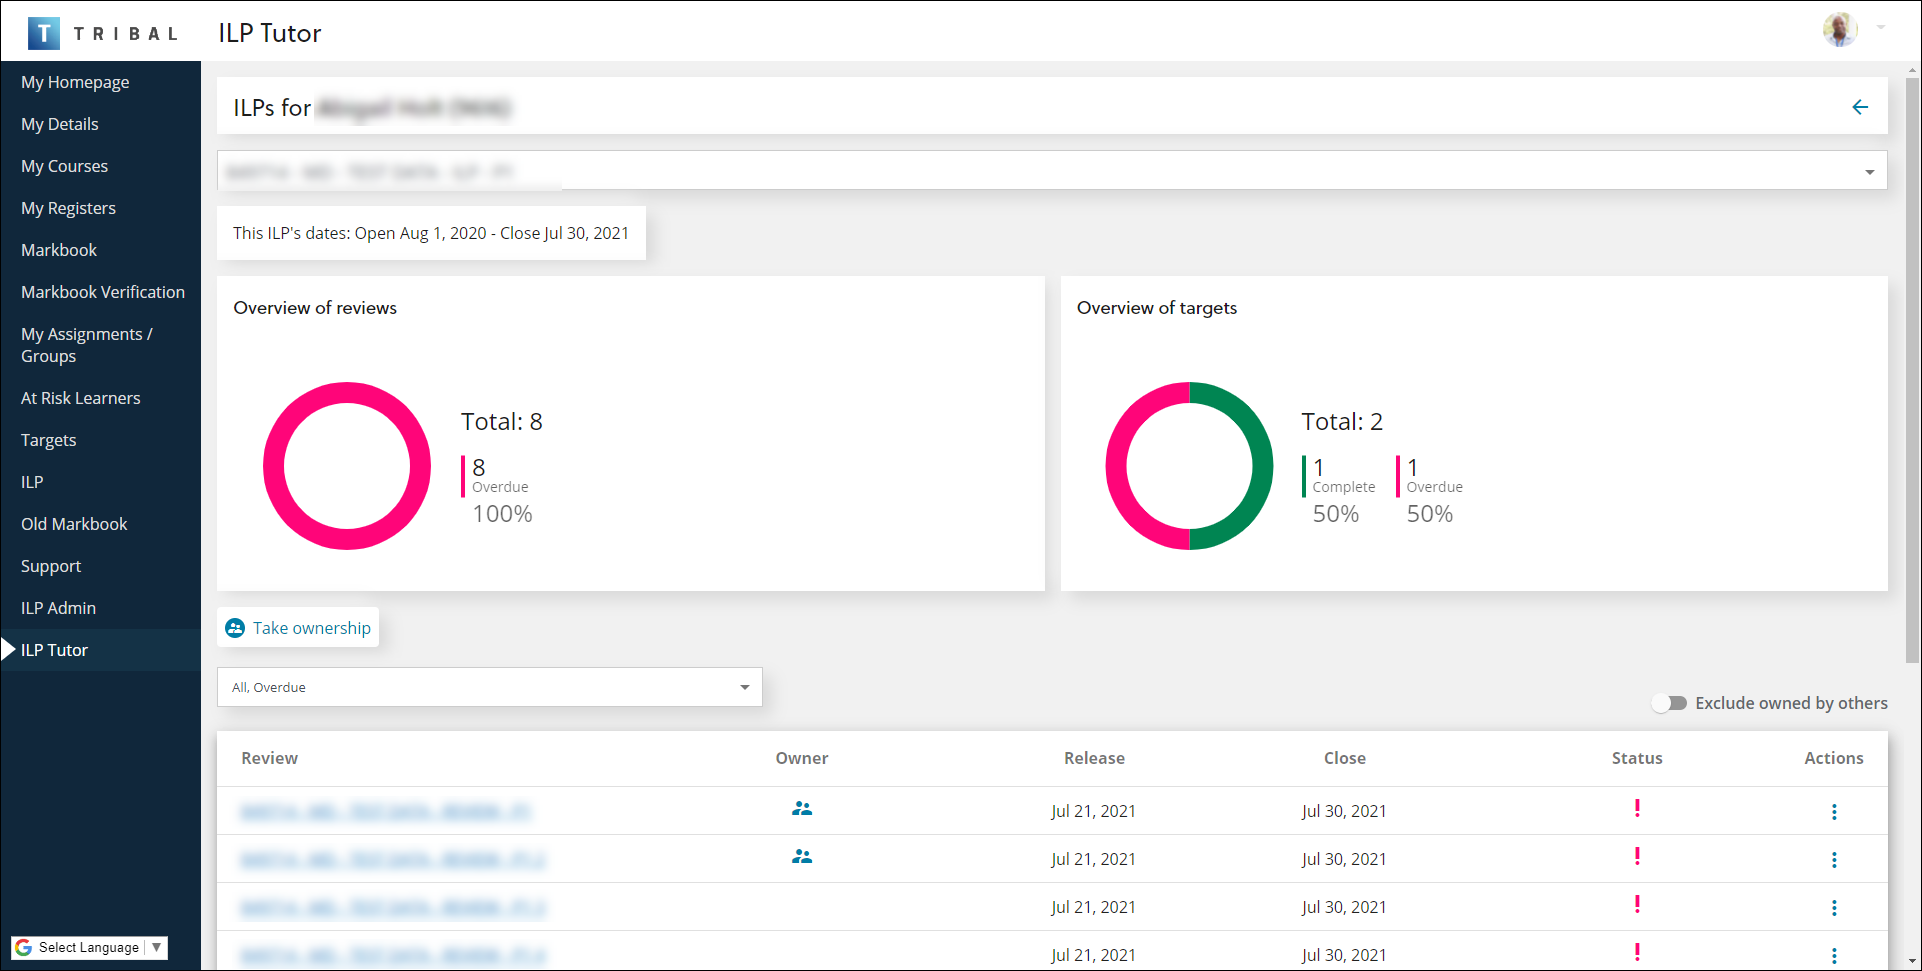
-
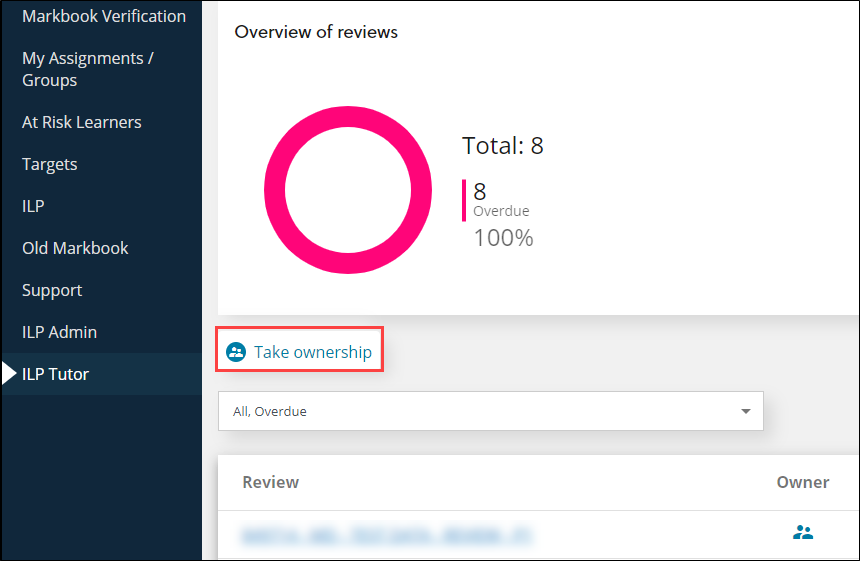
Select the Take ownership button.
The ILP Ownership window is displayed.
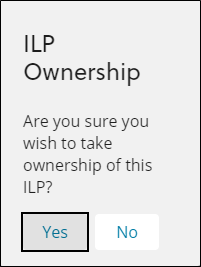
-
Select Yes .
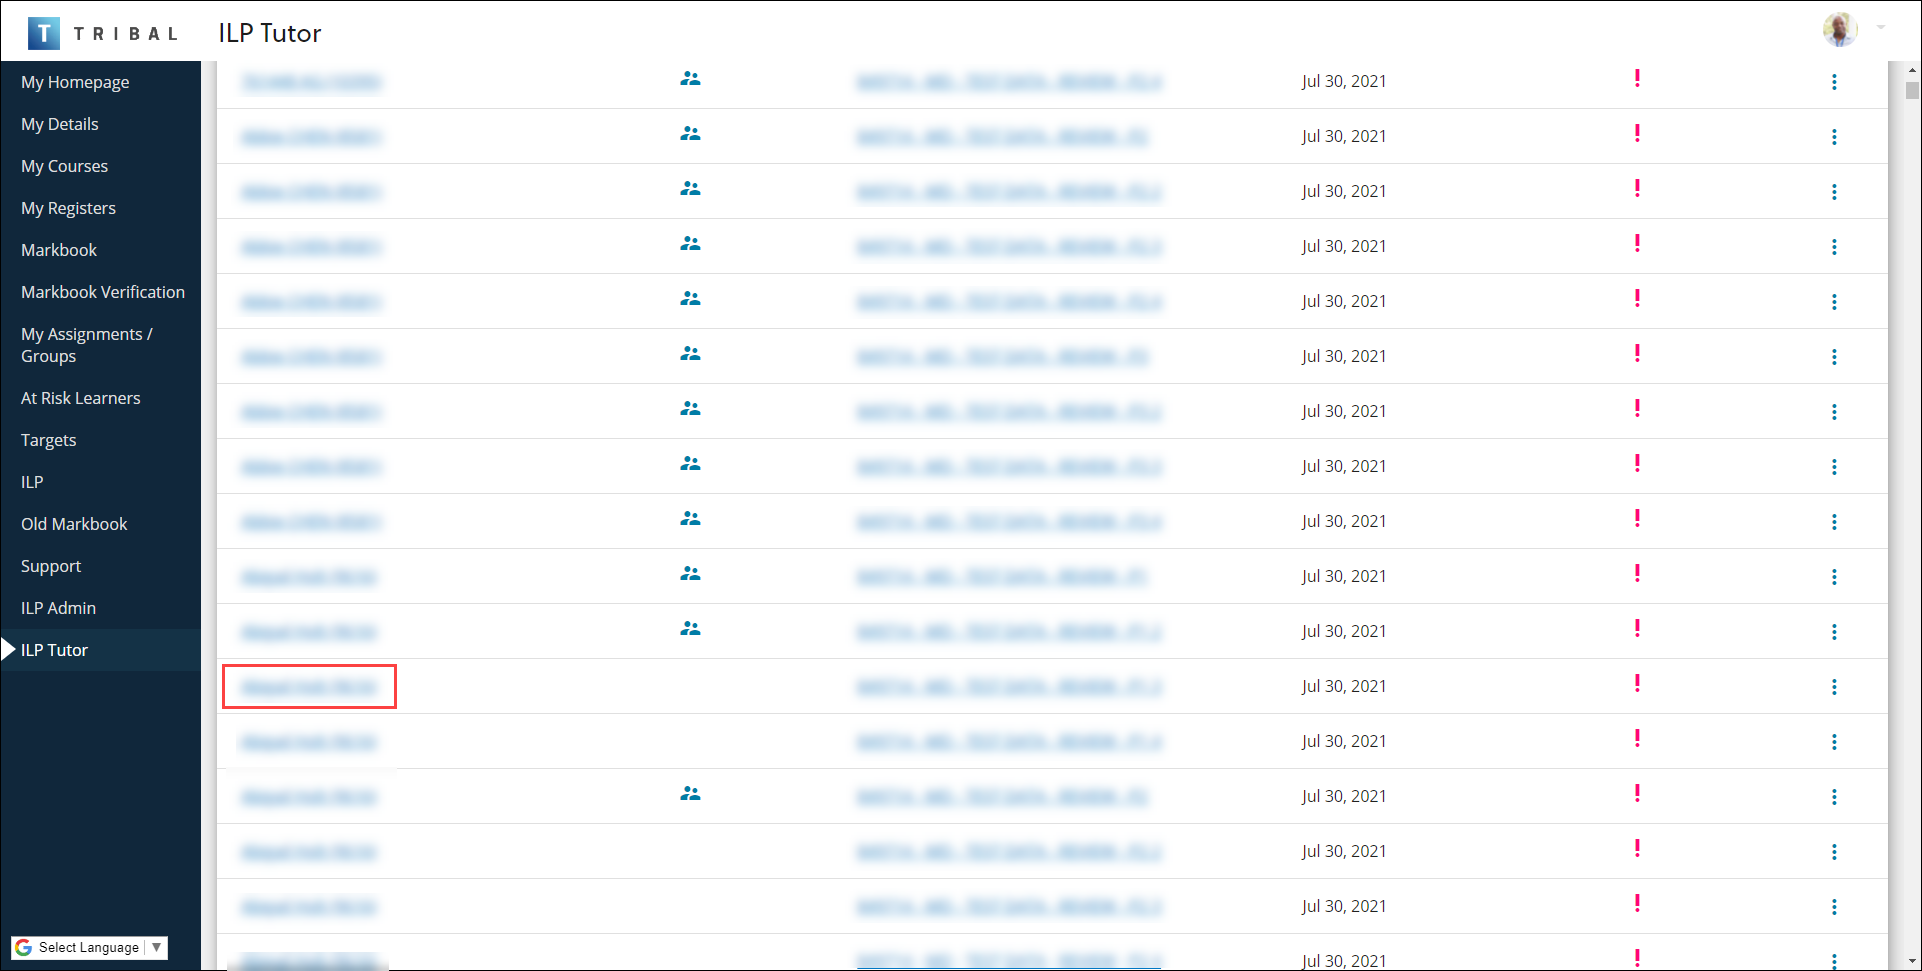
To view a learner's ILPs, reviews and targets:
-
Select the relevant learner's name.
The ILPs for <LearnerName> screen is displayed.
You can use the drop-down list to access the learner’s ILPs or select View all targets to display the learner’s target dashboard.

-
Select the relevant item.
To view the learner's target dashboard:
-
Select the relevant learner's name.
The ILPs for <LearnerName> screen is displayed.
-
Select View all targets from the drop-down list.

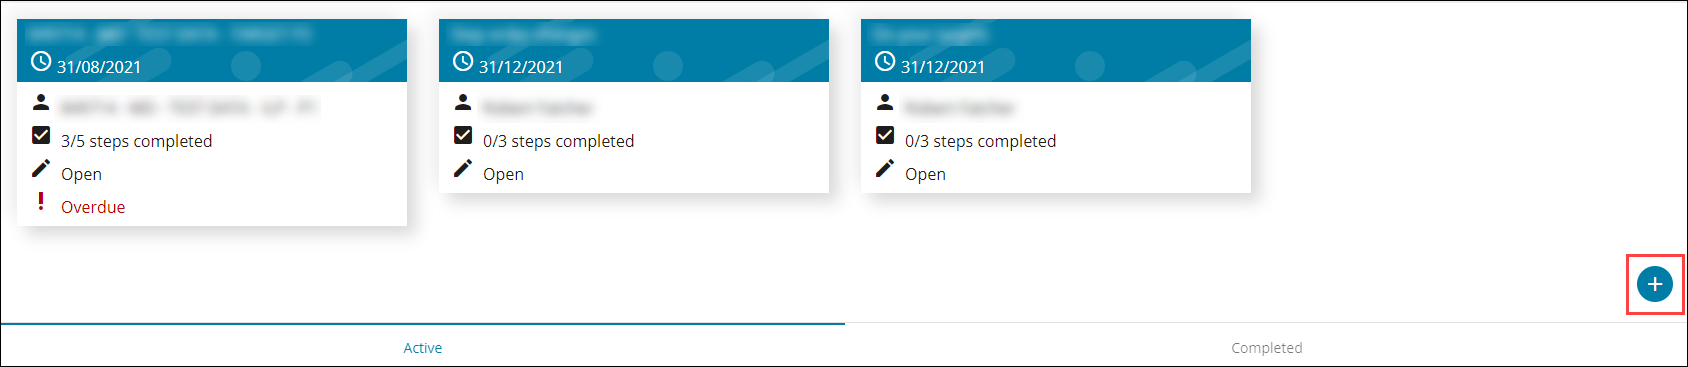
The learner’s target dashboard is displayed.
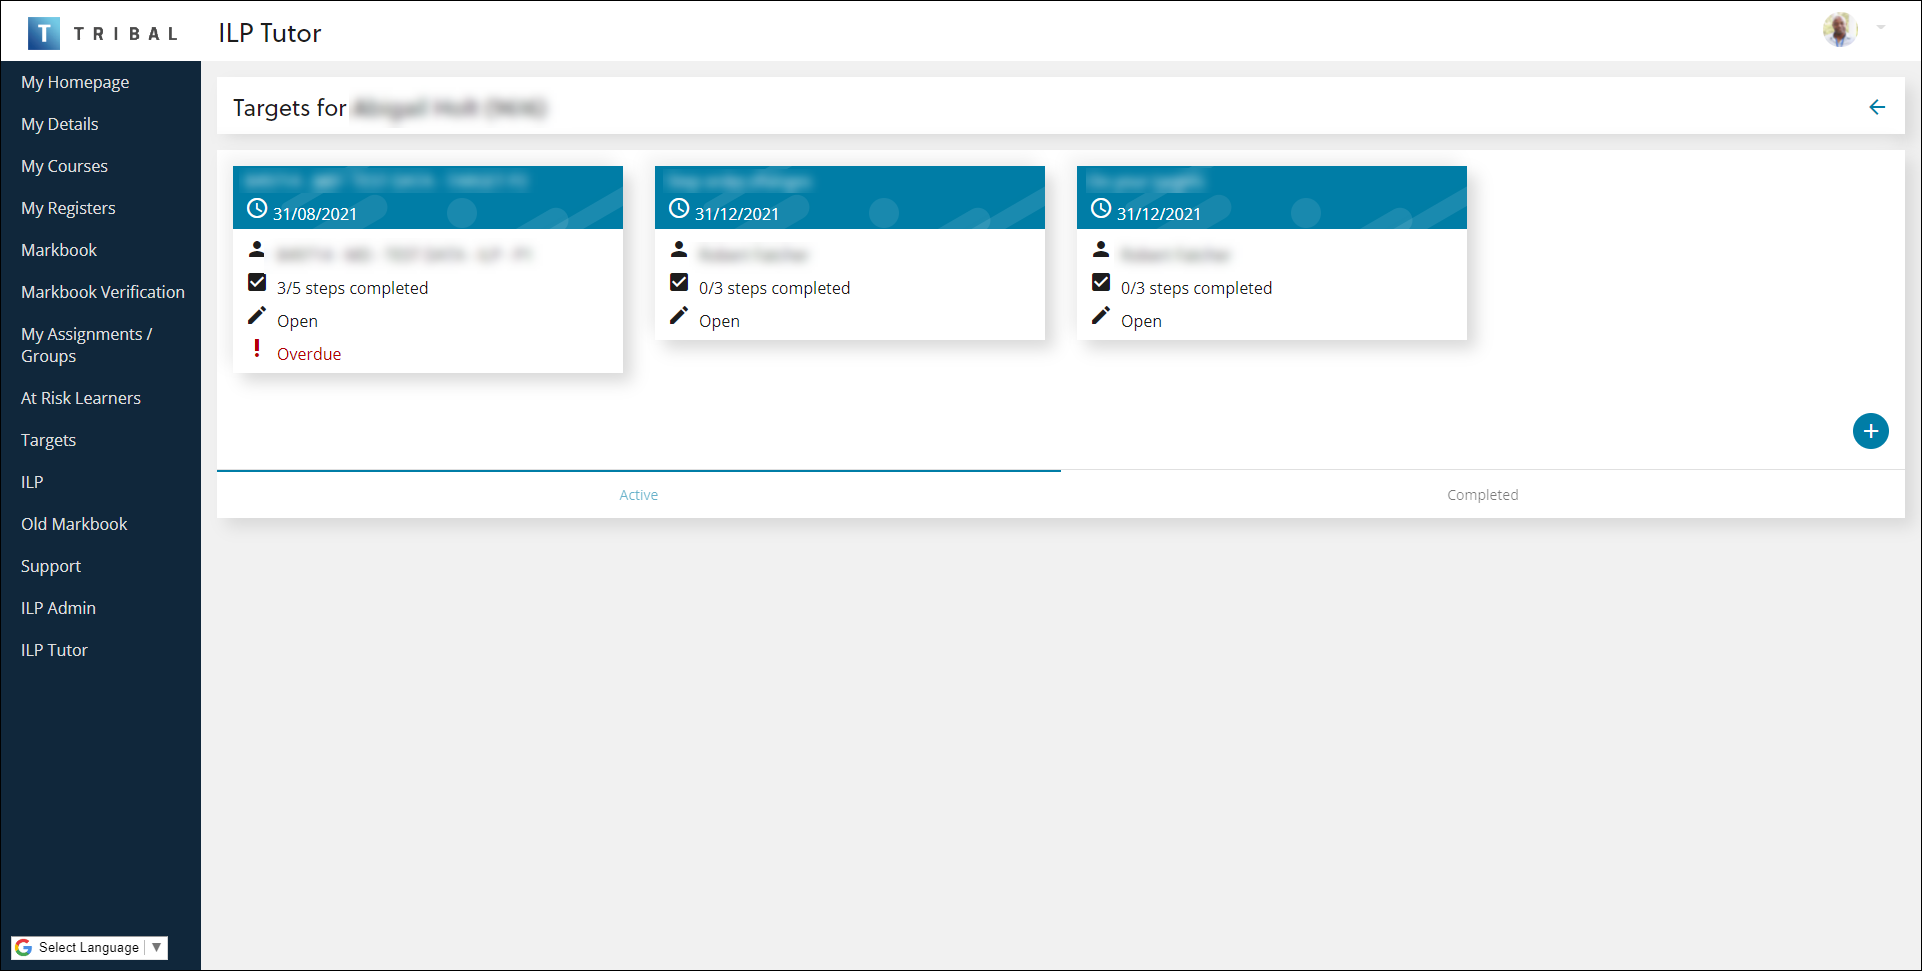
You can use the target dashboard in the following ways:
-
Select the relevant target to view it
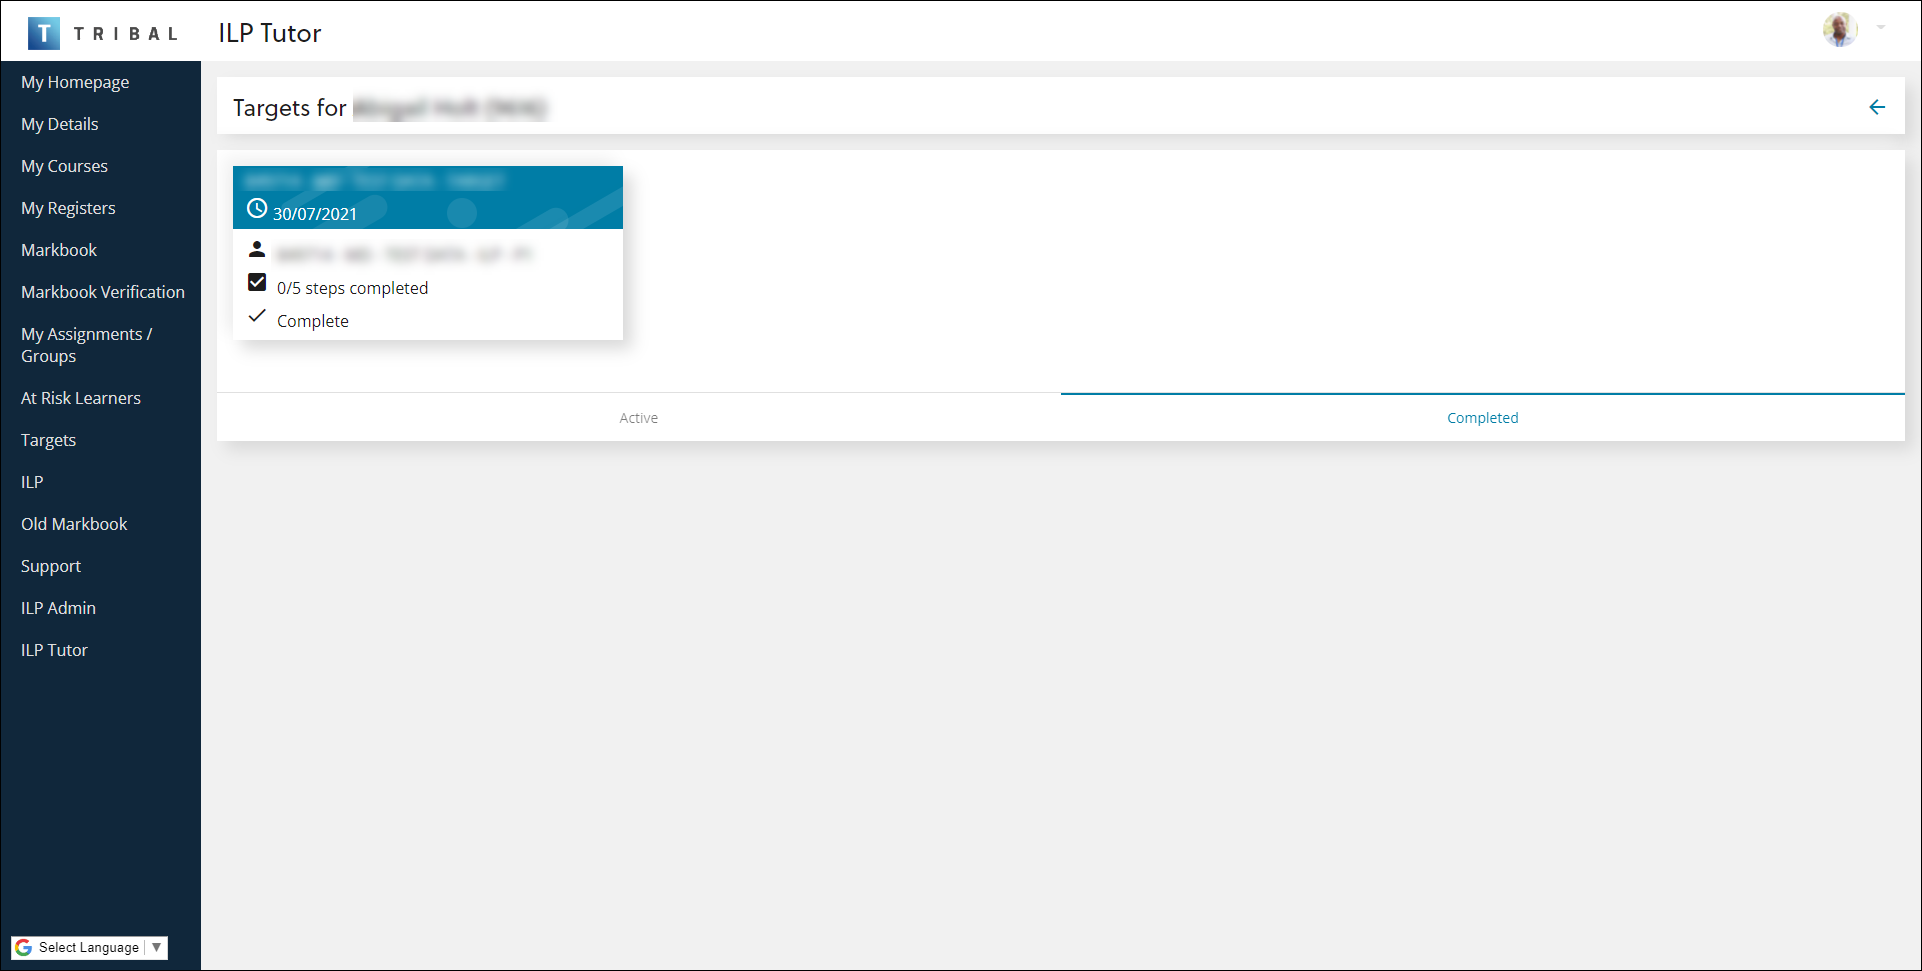
-
Select the Completed tab to view completed targets
-
Select the Add button to add a target
-
To add an attachment to a target:
-
Search for and open the relevant target.
-
Select the Files tab.
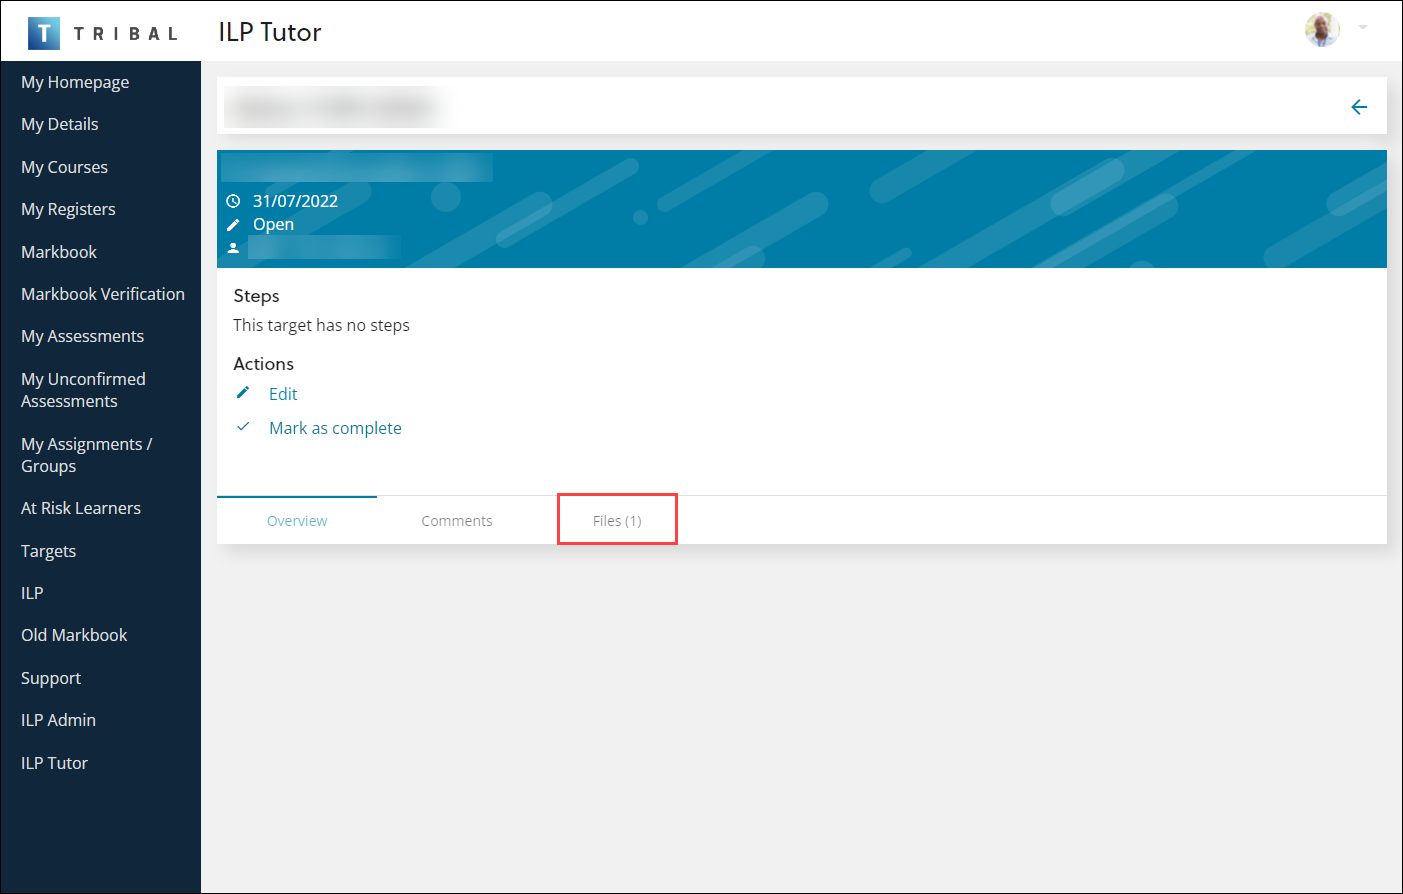
The Files tab is displayed.
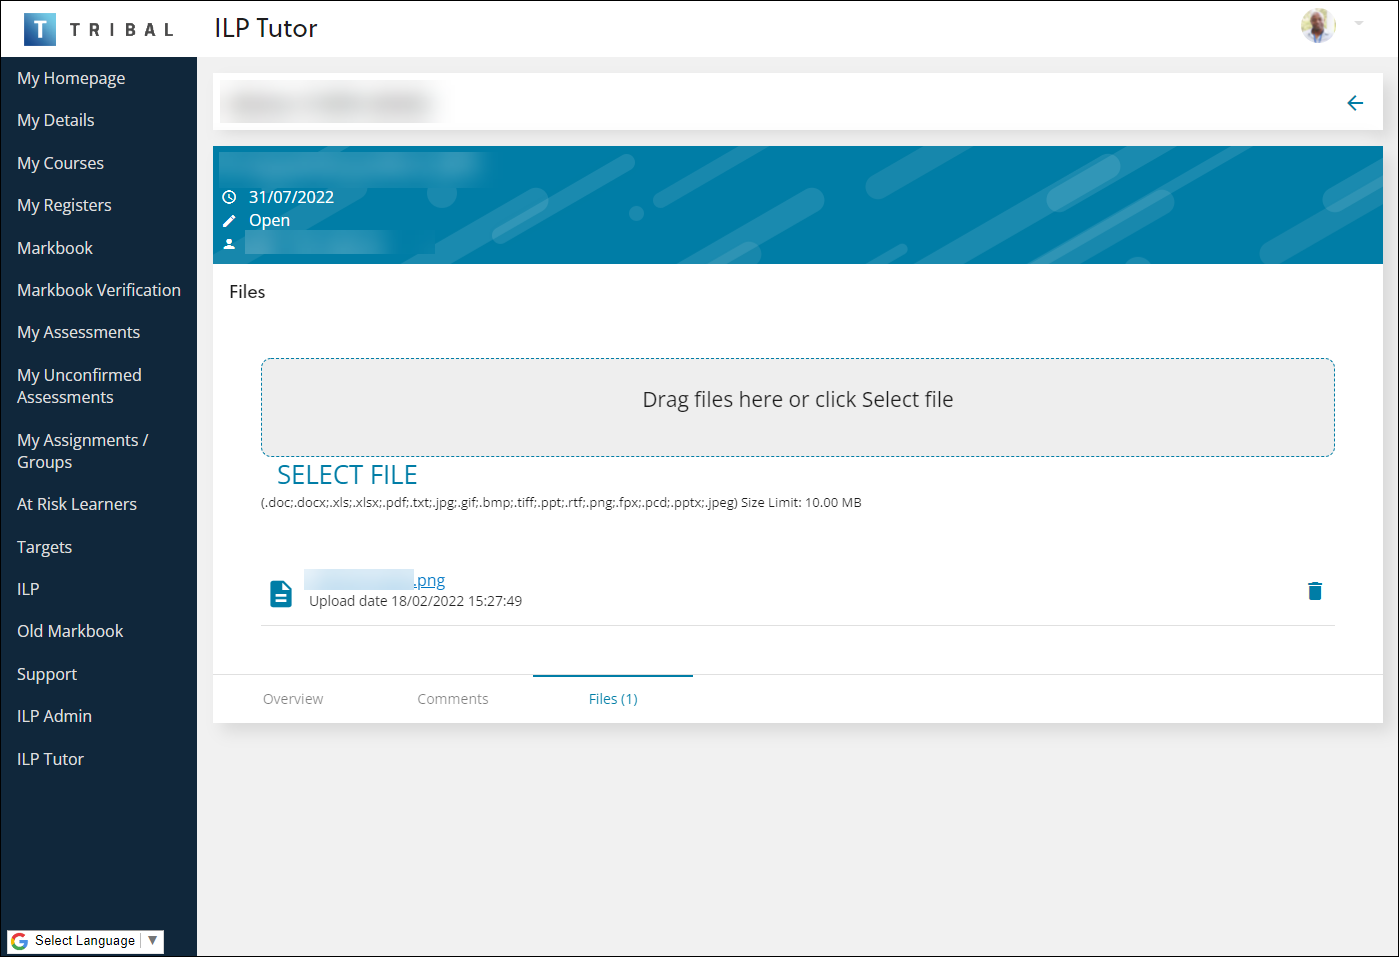
-
Drag and drop the relevant file to the Drag files here or select Select file panel. Alternatively, select SELECT FILE to search for the relevant file.
-
The file is added to the target.
Add a target for a learner you are not linked to as follows:
-
Open ILP Tutor.
-
Use the learner search to find the required learner.
-
Open the learner record.
-
Select the Open targets tab.
-
Select Add target.
-
Enter the target details using the standard target screen.
-
Save the target. The new target is added to the learner record.
You can mark a learner target as Not completed to close it accurately on the learner’s targets page.
Targets marked as not completed appear in the same locations as completed targets, making it clear that the target is closed but not achieved.